Good morning!
I had some folks comment, and emailme, asking how to create the butterfly card that I posted yesterday, so I decided to make another card, taking photos along the way. I apologize for the photos. Should have put something under the project pieces, so that the lights above wouldn't reflect.
1. Create a card base,
a darker colored mat (a shade smaller than the card base),
and a focal panel (a shade smaller than the mat).
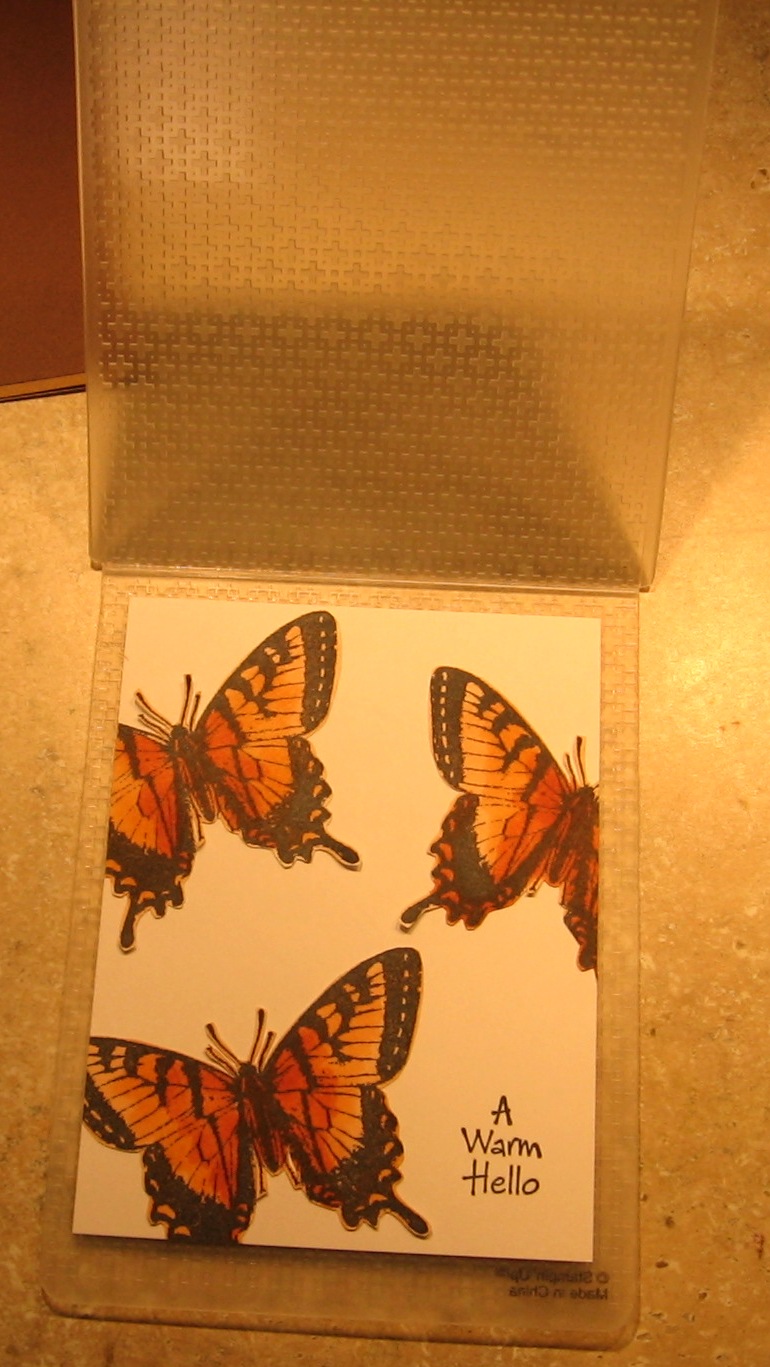
2. On separate scraps of white cardstock, stamp and color your image. As you can see, I was very messy! No worries about staying in the lines :)
3. Fussy cut your image.
4. Stamp sentiment, and adhere your stamped images, wherever you like.
5. Trim the images, where they overhang the sides of your focal panel.
6. Place focal panel inside embossing folder. I chose the Stampin' Up! Square Lattice, as it's a tight, woven pattern. My goal was for the panel to look a bit like fabric.
7. Close folder, and run through your embossing machine.
8. Open folder, and say "OOOOH.....AAAAAHHHHH...."!
9. Adhere panel to mat. Voila!
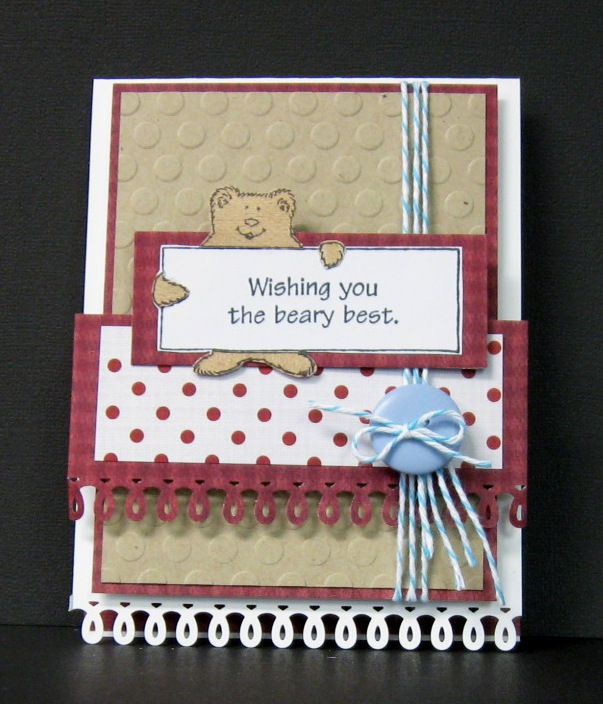
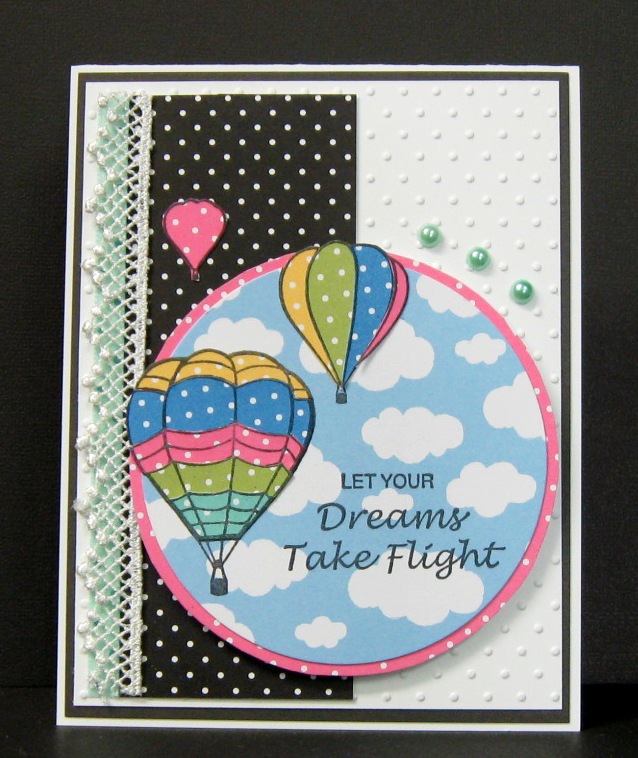
Now, if you are not a coloring addict, like I am, you could do this very same technique, using ready made images, punched shapes, etc.!!! Possibilities are endless.
Thanks for stopping by! Again, I apologize for the yellow pics, but I think you get the idea!
Feel free to email me, or leave your email in a comment, if you have questions. I'll get right back to you!
Hugs,
Patti J.
Butterfly image is Gina K. Designs, and sentiment is Hero Arts.