Showing posts with label POTW. Show all posts

Monday, November 8, 2021

Warmest Holiday Wishes - POTW

Hi everyone!

It's my turn to share a Pick of the Week at The House that Stamps Built

My plate is full to overflowing this month, so my project is a quick and easy fold...hope you enjoy it!

The Repeat Impressions Stamps that I used for this card are:  


This fold is so simple.

Start with a piece of cardstock that measures 5.5" x 8.25" and score at 1 1/8" and 5.25".

Cut a piece of patterned paper to 2.75" x 5.25"
Cut another piece of coordinating patterned paper to 1" x 5.25"
For the inside of card, cut a white panel measuring 2.75" x 5.25"

Adhere them into place as shown.  Stamp a sentiment on the top of the larger panel. Stamp another sentiment on the same color as your card base, and mat with one of your patterned papers. Adhere the far right edge of the sentiment strip to the bottom right, and use a velcro fastener on the left side. Voila! A pretty card with a fun fold!

Well, hope you'll give this a try! 

Grab those RI stamps and give this a try!
 For this week only (December 8 - December14th), get 20% off the stamps used in my creation above when you use the coupon code POTW11821.

Thanks for stopping by today!

Hugs and blessings,
Patti J.

Monday, September 20, 2021

Pick of the Week - Gettin' Tacky

Hi everyone!

It's my turn to share a Pick of the Week at The House that Stamps Built

My MoJo is on a vacation, again. So, today, I chose to feature a very quick and easy crafty tip.

The Repeat Impressions Stamp that I used for this card is:  


My tip is all about saving money!  I'm sure, if you're like me, you are always and forever trying the newest glue on the market, and spending a fortune!  The other day, I realized one of my fine line glue tips had clogged, and I'll have to order some new ones. BUT...I needed a fine line of glue NOW, not in 5 or 6 days!  What's a crafty gal to do?

I grabbed a tiny $1.00 tube of Tacky glue.

When you first take the cap off your glue, you normally have to cut off the end to get the glue to flow through. The bottle on the right shows the lid on, and the bottle on the left shows the lid off, prior to cutting the tip off. 


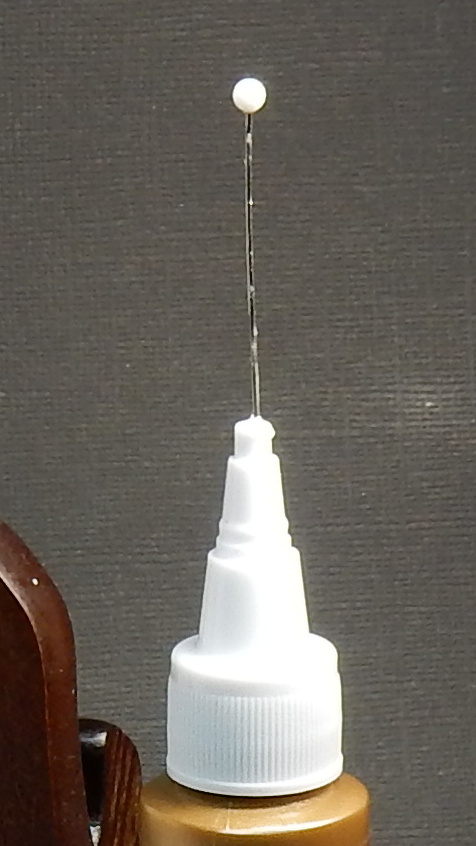
The next thing I did, was take the quilting pin, and gently move it, rotating it back and forth, thile gently pushing it down into the bottle top.


I kept going until I was all the way through...


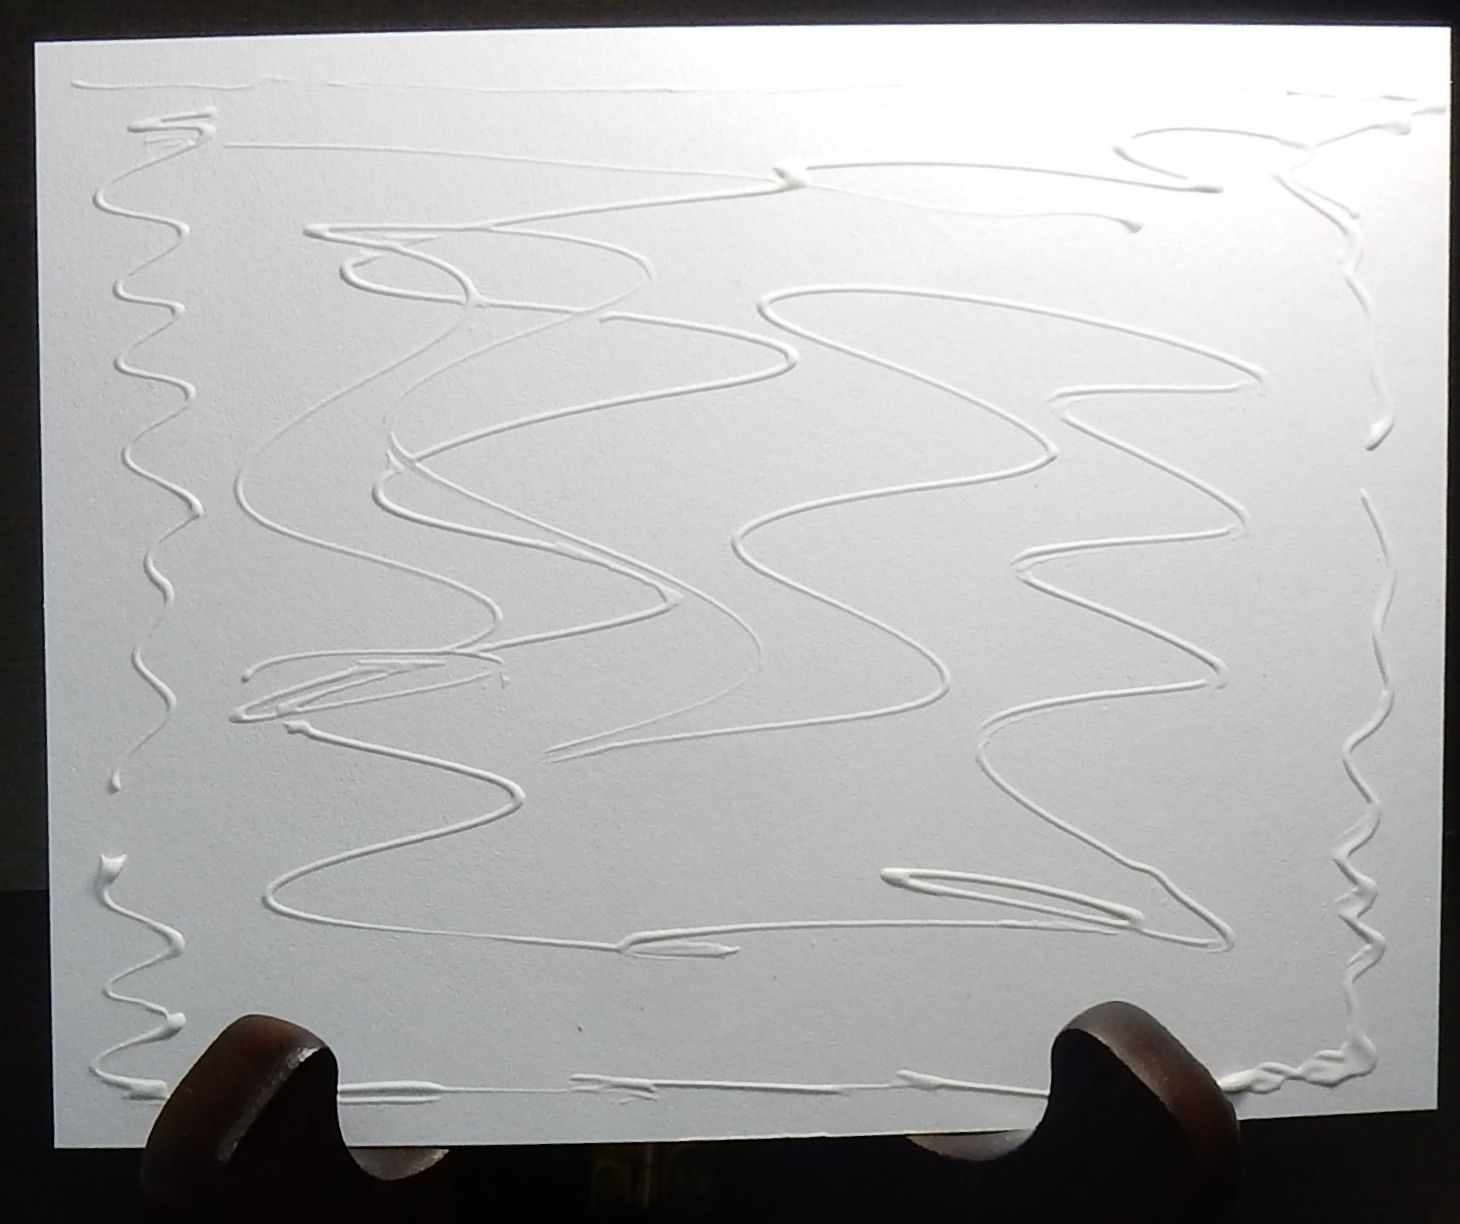
And here is the extra fine line of glue that I was able to put onto my focal panel!
Pretty awesome, right???


It was ironic that I got an order for another card using 'THAT' paper, and the lovely sentiment from Repeat Impressions.  Here is my finished card:


This shot better shows the shine of the paper.

Well, hope you'll give this a try! We are going to begin doing this, and including a small bottle of glue in each class participants supply box, as we begin doing person to person workshops again!

Sort of a sneaky way to save money!

Grab those RI stamps and give this a try!
 For this week only (September 20 - September 26th), get 20% off the stamps used in my creation above when you use the coupon code POTW92921.

Thanks for stopping by today!

Hugs and blessings,
Patti J.

Monday, August 16, 2021

Happy Birthday!


Hi everyone!

It's my turn to share a Pick of the Week at The House that Stamps Built

My MoJo is on a vacation, apparently. So, today, I chose to feature a very quick and easy card tip.

The Repeat Impressions Stamp that I used for this card is:  


To begin, I folded a white card base, added some background paper, and stamped a sentiment on a scrap piece of the background paper.


Next, I found a punch that I liked, and punched the sentiment out, first from the patterned paper, then from white cardstock to match the card base.  The white punch was cut in half, and adhered to the top and bottom of the sentiment.

Last, a scrap of ribbon was placed on the card front, and the sentiment was adhered using some dimensional foam.

Sort of a sneaky way to only have one punch!

Grab those RI stamps and give this a try!
 For this week only (August 16 - August 22nd), get 20% off the stamps used in my creation above when you use the coupon code POTW81621.

Thanks for stopping by today!

Hugs and blessings,
Patti J.

Monday, July 12, 2021

My Pick of the Week

Hi everyone!

It's my turn to share a Pick of the Week at The House that Stamps Built

Today, I chose to feature a very quick and easy card style.

The Repeat Impressions Stamps that I used for this card are:  


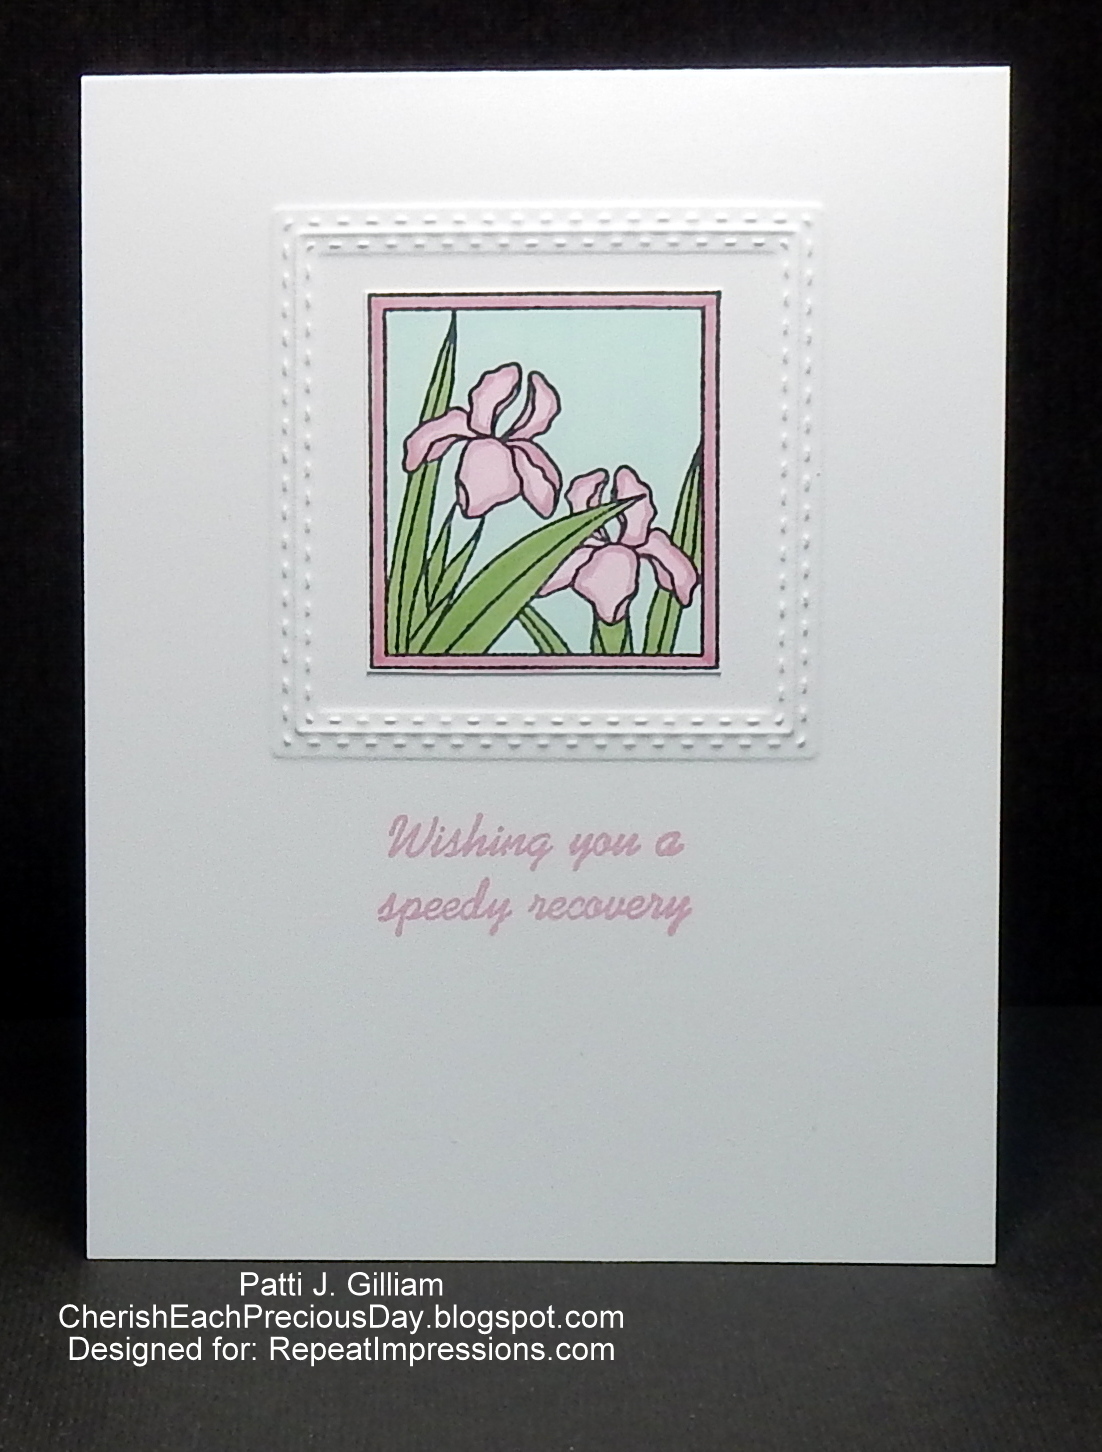
To create these cards, I make plain white A2 card bases. Next, I used a die, and an embossing pad, to emboss a 'frame' into the card front.  I set all 9 card fronts aside, and began coloring images.

Did you know that Repeat Impressions has these beautiful little window stamps? It seems we are always short of anniversary, get well, and thinking of you cards, so my goal was to add to my stash with these pretty cards!

After the images were colored, I cut them out, just barely outside of the stamp border, and glued one into each of the frames. 

Last, using a stamp positioner, a sentiment was stamped onto each card. 

These are great for mailing, as they are all one layer cards!

Here's what I made:


Grab those RI stamps and give this a try!
 For this week only (July12 - July 18th), get 20% off the stamps used in my creation above when you use the coupon code POTW71221.

Thanks for stopping by today!

Hugs and blessings,
Patti J.

Monday, April 12, 2021

Pick of the Week at The House that Stamps Built

Hi everyone!

It's my turn to share a Pick of the Week at The House that Stamps Built

Today, I chose to feature a very quick and easy card style.

The Repeat Impressions Stamps that I used for this card are:  


I'm one of these folks that have always thought that every image needs to be colored to be pretty, and make a statement. Recently, I began trying some other ideas that eliminated coloring. Here is one idea that makes a 10 minute card every time!

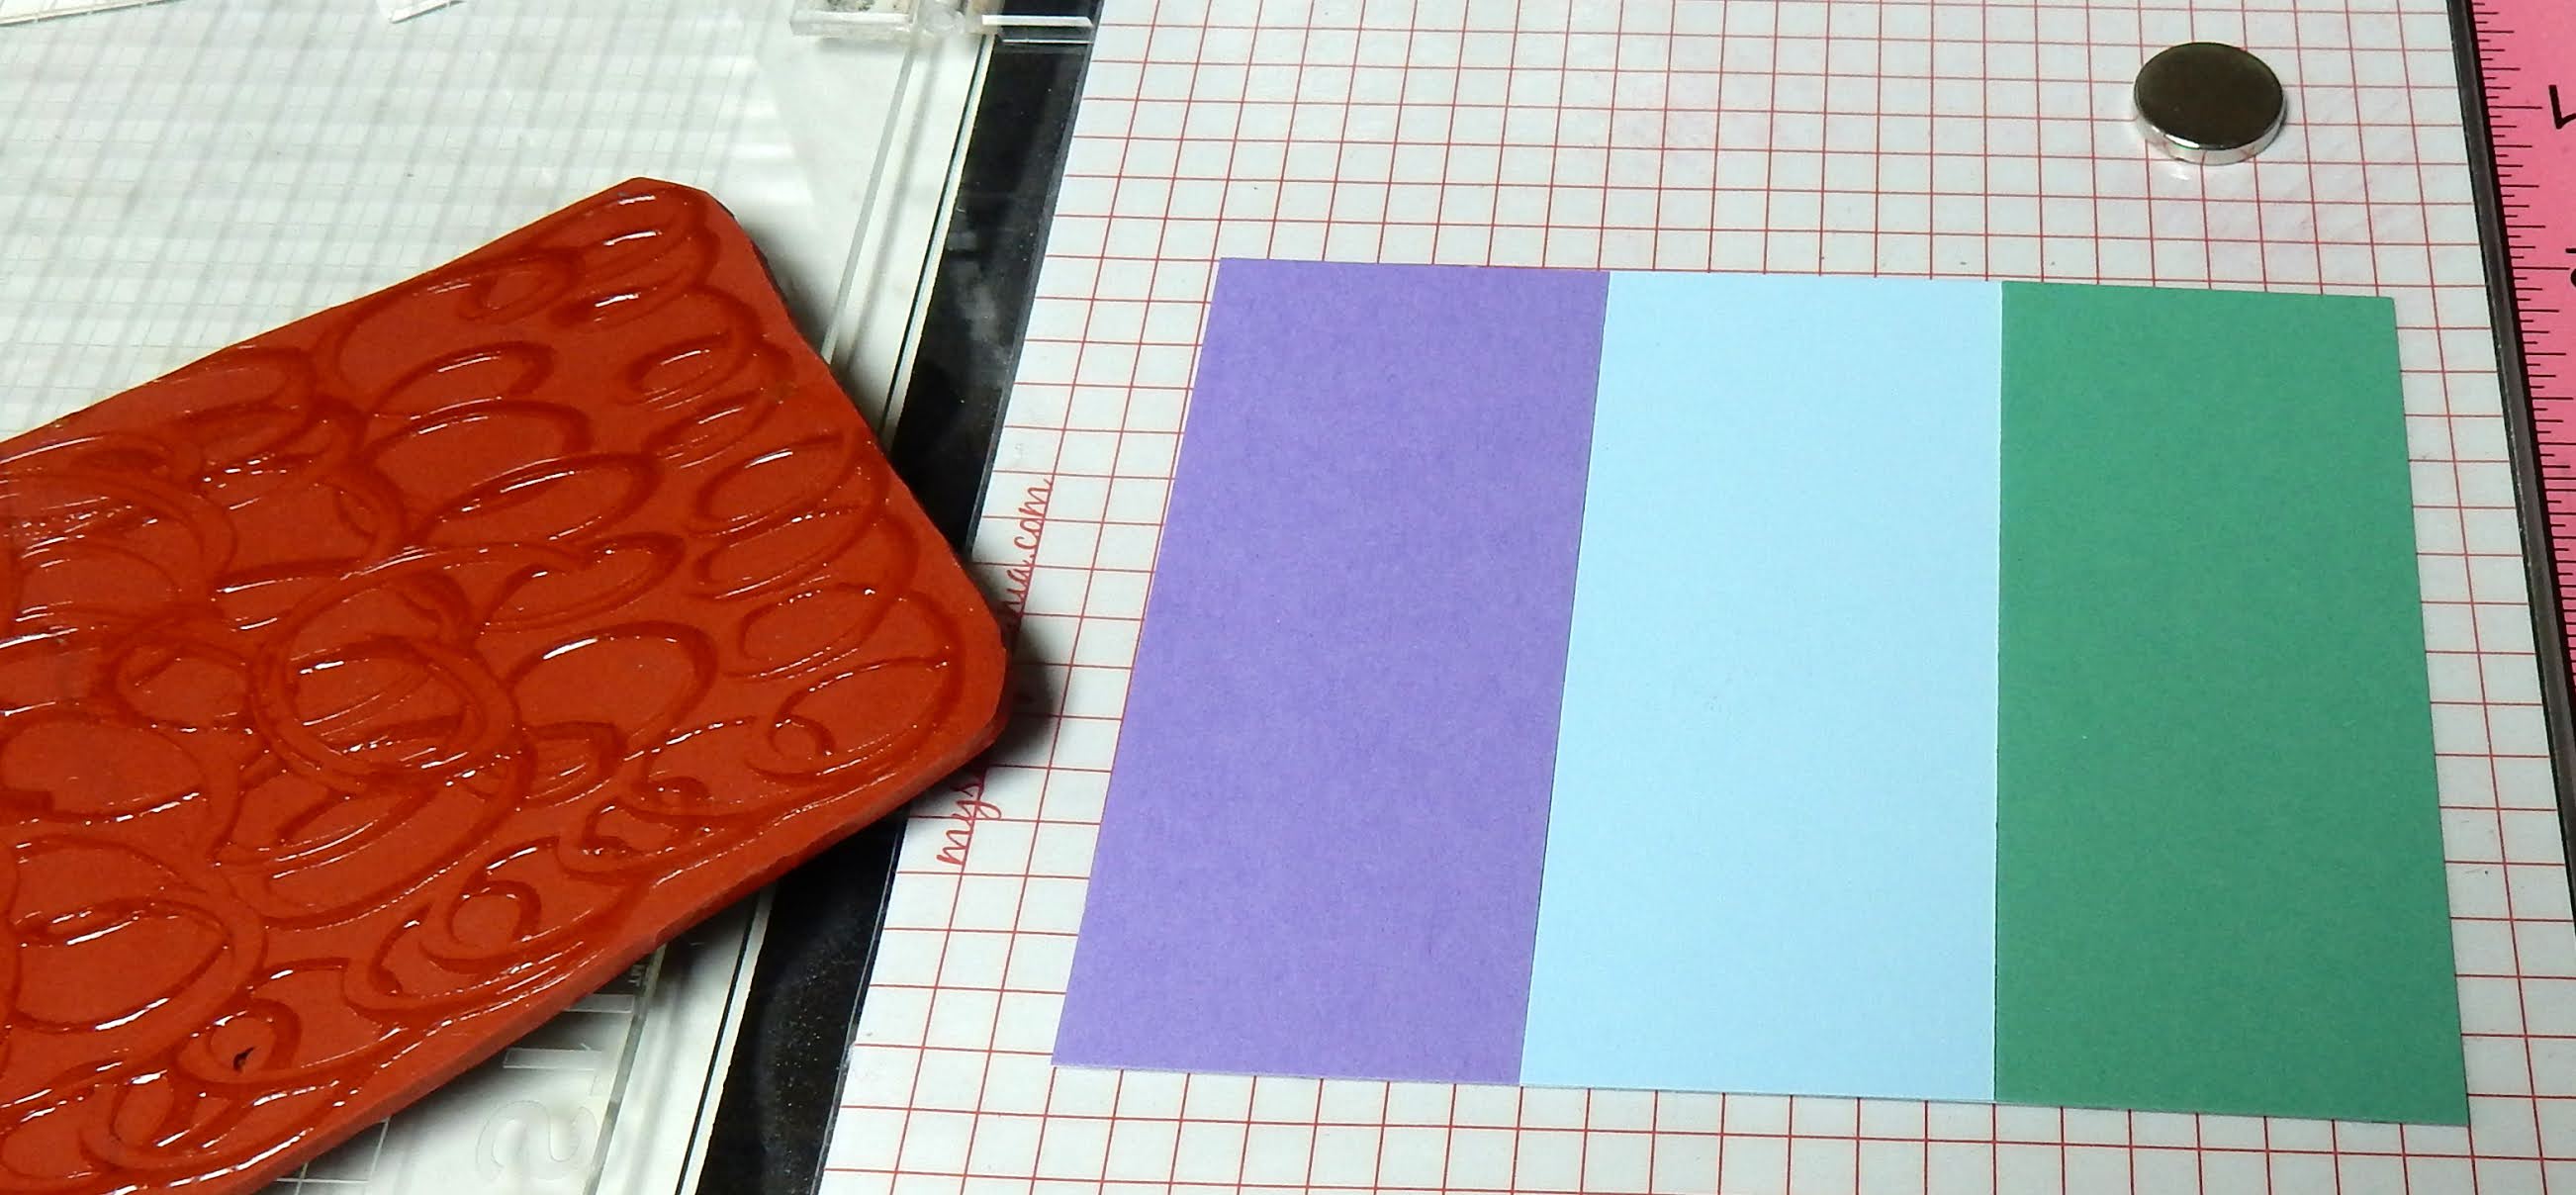
So, dig out three colors of cardstock that you like, and cut them into strips the width of your card front. I used some repositionable tape to hold these panels in place for stamping. Also, choose either a large background stamp, or stamps to 'fill' your three panels.


Next, after positioning your panels, stamp your image.


After stamping, take each panel, and adhere it to your card front.


You can stop there, or continue on with a sentiment - here's what I did...
I cut a very thin strip of the blue cardstock used for the center panel, and created a vertical line across my card front. I then chose a sentiment, stamped it in Versamark on black cardstock, and heat embossed with white embossing powder. The sentiment was adhered with pop dots to the blue strip. It looked too plain, so I added a couple of teensy white hearts that a friend had given me.


Grab those RI stamps and give this a try!
 For this week only (April 12 - April 18th), get 20% off the stamps used in my creation above when you use the coupon code POTW41221.

Thanks for stopping by today!

Hugs and blessings,
Patti J.

Monday, March 22, 2021

Pick of the Week at The House that Stamps Built

Hi everyone!

It's my turn to share a Pick of the Week at The House that Stamps BuiltI will be 're-sharing' the slimline card that I created on March 17th, for the Slimline Challenge. The Repeat Impressions Stamps that I used for this card are:  

Rather than showcase a technique, I'm sharing a tip today that I use on nearly EVERY single card that I create. We all have our favorite stamp positioners, right? But do you ever use your stamp positioner with a rubber stamp, and still get an image or sentiment that is not 'exactly' straight?  Let me share an old tip!

Look really closely at the bottom edge of this card, and you will see a piece of square, clear material. This piece happens to be from my old Stamp-a-ma-jig, but you can use a piece of transparency, stamp packaging plastic, etc.

I lay this plastic down OVER my card, and first stamp on the plastic, before potentially 'messing up' my finished card. In this case, I'm adding the Ribbon Border.


This allows me to stamp, as if stamping on the card front, and see if my stamp needs adjusting.


Here, you can see the stamped plastic. And, yes, my stamp is slightly leaning uphill on the right side!


So, I realigned my stamp and tried again. Once satisfied, I stamped on the card front.


Just wipe off your plastic with a baby wipe, set it aside, and you're ready for the next project!

Stamps used:


Give it a try! Hope I helped save a piece of art!
 For this week only (March 22 - March 28th), get 20% off the stamps used in my creation above when you use the coupon code POTW32221.

Thanks for stopping by today!

Hugs and blessings,
Patti J.

Monday, February 22, 2021

My 10 Minute Pick of the Week

 Hi everyone!

It's my turn to once again share a Pick of the Week at The House that Stamps BuiltThe Repeat Impressions Stamps that I picked to showcase are:


So...have you ever needed a card for a missed design team deadline? (Asking for a friend) 
Last night, Wendy, the owner of Repeat Impressions (my boss! gulp) messaged me and thought perhaps she had lost my POTW post, because she couldn't find it. Truth is...I wigged out!  I created a POTW for my NEXT turn, but forgot one for this post. So, there was a mad dash this a.m. to create a post that wasn't too photo heavy, as Wendy will have to pull everything together at the last minute!

Here's what I needed for my 10 minute creation:

A card base (grabbed a pre-cut, pre-scored base)
A white panel
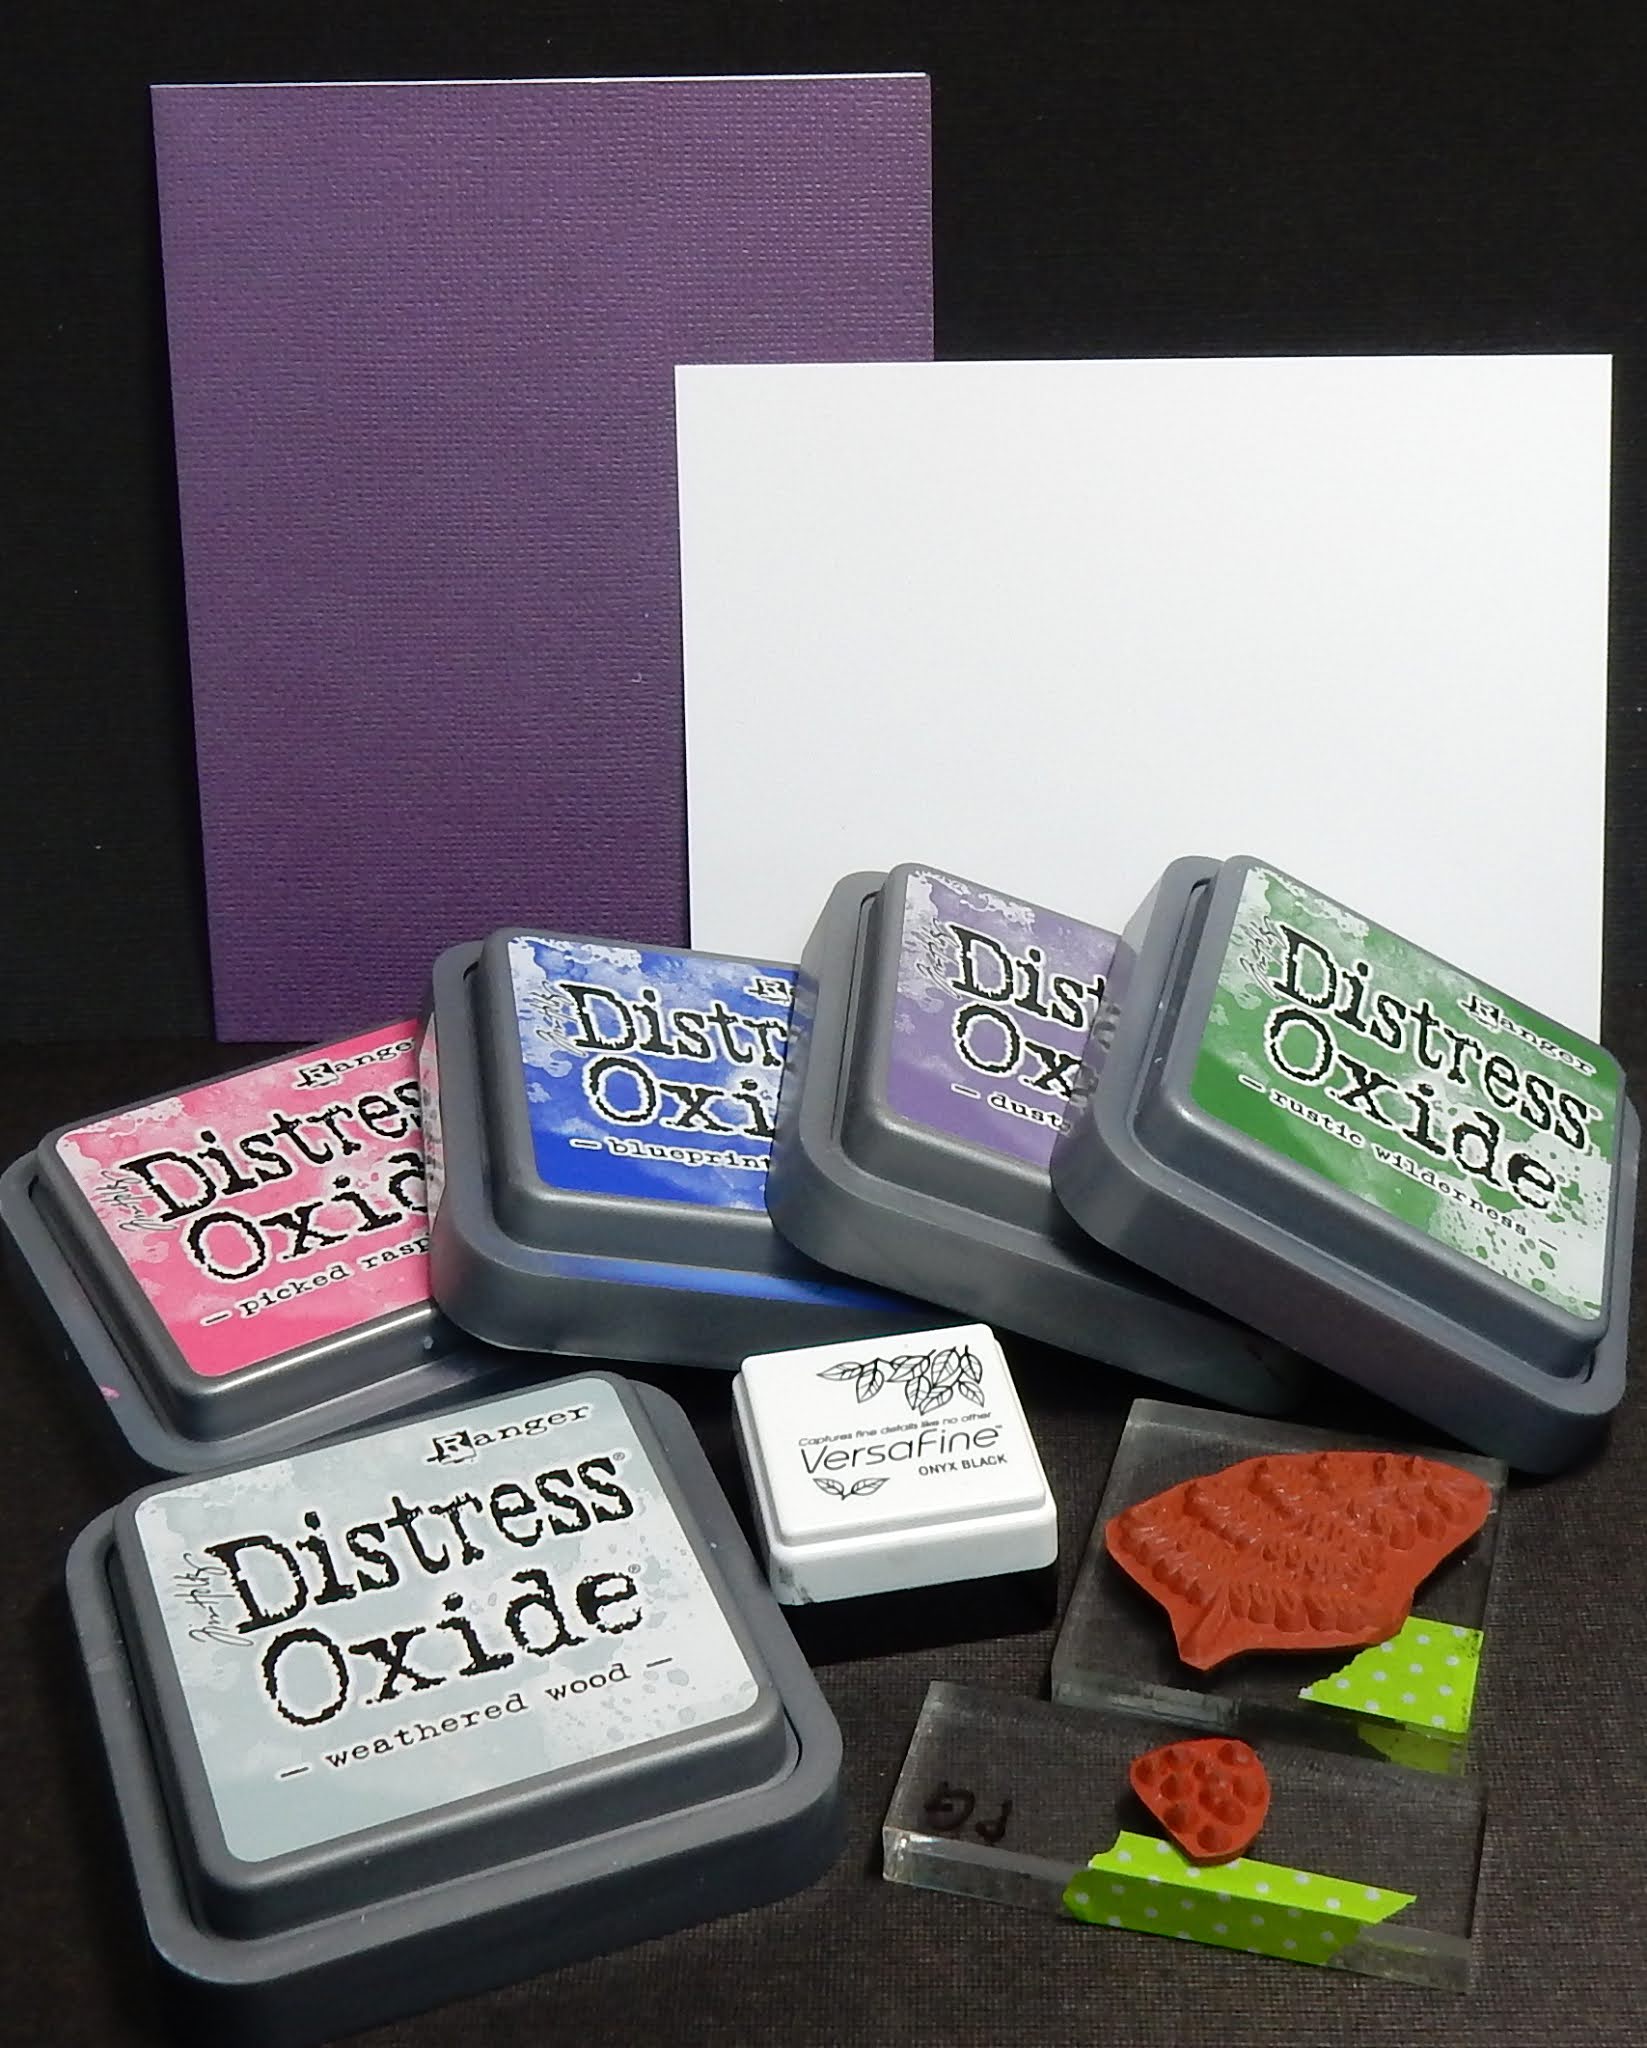
Several colors of ink
Black Ink, and stamps


For this card, I just took that darling Fern stamp, and began randomly stampin it on the white panel, until I thought enough was enough. I then added the dots, and finished with the sentimen.
The panel was adhered to the card base, and I was truly finished, and had things put away in 10 minutes!


Hope you like this - Give it a try with any of your fun stamps!

 For this week only (February 22 - February 28th), get 20% off the stamps used in my creation above when you use the coupon code POTW22221.

Thanks for stopping by today!

I am entering this card in the Turner Syndrome Blog hop!  There are a few days left to enter - 23 sponsors, some of the design team members are giving prizes. My prize is a $30 gift card to Technique Junkies Stamps!!! Check it out HERE.

Hugs and blessings,
Patti J.

Monday, September 25, 2017

The Coolest Christmas Ever...!

Good morning!

I'm the Monday morning hostess at The House that Stamps Built. It's my turn to share a 'Project of the Week' with all of you.  Today, I chose to share a tutorial for an easy treat holder for my tutorial.


For this tutorial, I'm using these Repeat Impressions stamps:


Cut a strip of cardstock to 1 15/16" x 10".


Score at 4", 6", 7", and 9"
Burnish your score lines. Now your strip looks like this.


Before I went any further, I took a decorative punch to the top of my strip. This step is optional.
Add Scor-Tape, or adhesive of choice to the small tab, but do not remove the liner yet!


 Punch a hole between the two score lines opposite the top of your strip.
I used a 1 1/4" punch for this project.


Begin decorating your strip.  I stamped on what will be the 'front' side of my treat
holder.  


If you wish to decorate the 'holder', you will need to flip your strip over, and stamp on the opposite side.  Be sure that you are stamping on the side with the adhesive, with that end at the top.
If you look closely, you can see where the penguin was stamped - the Copics bled through a bit.


 Now, just remove the adhesive liner, and attach the flap to the front of your treat holder.
All that's left to do is add candy and decorate!


Here is the finished product.
You can change the dimensions of this holder, and add a votive candle, if you'd like!

Here is your finished treat box - coolest 'easy box' ever, right?

We hope that you will give this a try! 
Come back and let us know if you do - we'd love to see your finished projects!!!

Thanks for stopping by,
Patti J.

Monday, July 31, 2017

Project of the Week - The House that Stamps Built

Good morning!

I'm the Monday morning hostess at The House that Stamps Built. It's my turn to share a 'Project of the Week' with all of you.  Today, I chose 'Inking with Finger Daubers' for my tutorial.

For this tutorial, I'm using these Repeat Impressions stamps:


First, gather your supplies.  You will need a few inks, a few finger daubers, and a fun stamp.


Using a finger dauber, ink up the first cat, being sure not to ink up any of the other parts of the stamp.

Stamp the first image, and repeat the process on the second cat, using a different ink and dauber.


Here is what it looks like.  As you can see, I got a bit of ink on the 'framework' of the stamp.
No worries!

Repeat the process using a third dauber and ink color.


At this point, the cats were 'masked' using some scraps of post it notes.  Once all
of the masks were in place, I daubed black ink on the frame.


Before stamping, careful and quickly remove the scaps of post it notes.
You can see in the image below, that only the frame has ink on it.


Here's what it looks like with all Post-It's removed.


Stamp the image.


Here is your finished image - pretty cool, right?


Now, all you have to do is finish your card!  Voila!


Last, here is a close-up of the stamped image....

We hope that you will give this a try! Come back and let us know if you do - we'd love to see your finished projects!!!

Thanks for stopping by,
Patti J.