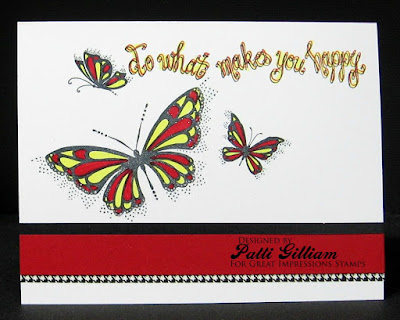
Each week, one of our designers brings you a fun project, and today
it's my turn! We are going to do some Dry Embossing 'with a twist'!
Let's get started...
Once you choose an image, stamp it, color it, and fussy cut.
I stamped the two dragonflies repeatedly, not knowing how many
I might use.
Next, gather your layers. You will need a card base, a white panel, and a colored mat.
Now, take you white panel and lay your images on the panel, where you
think you're going to want them. Once you have them in place,
adhere them to your white panel using a few drops of glue on each image.
Once your glue is dry, place your white panel into an embossing folder, and run
it through your embossing machine.
When you take your panel out, here is what it looks like. Sort of resembles
a piece of fine, printed linen, right?
Now all you have to do is assemble your layers, and voila! A beautiful card!
So....what else can you emboss?
I've embossed a ribbon....
a paper napkin...
a piece of transparency (had to lay the marker on it to get it to lay flat!)
and, a piece of vellum (you can see my removable tape underneath :)
I've also been told you can emboss other things, like fabric (spritz with water first),
fun foam, etc....
Give it a try! You will soon be embossing whatever isn't glued down!!!
Thanks for stopping by!
Be sure to check out the challenges that are up and running at
Check out my sidebar to see how to save money on your
RI stamp orders!
Have a good day,
Patti J.


