Showing posts with label Treats. Show all posts

Thursday, May 25, 2023

May 25, 2023

 Wow!

It's been a long time since I've posted anything, and I have a HUGE amount of things to share!

Things have been a bit hectic here - I won't bore you with all the details, but WILL ask for you to be patient with me for the next 5 or 6 months.

So, here are some of the things that I sure thought I had posted!

If you have questions, please ask. Otherwise, I'll just do a few 'show and tell very little' posts!

These wee Easter favors were for the kids at church this year:


I made this one with various 'kit' pieces from Stampin' Up!

This was made with the Rainy Days Paper Pumpkin kit from Stampin' Up!

This was in one of my friend, Ruth Petzel's card kits - love it!

My friend, Cheryl Gammon, had a class, and this was one of her cards:


We had a 'Girl's Day In' a month or so ago to celebrate a couple of birthdays. We will do the next group of birthdays later this month.  We all brought a CAS (clean and simple) project to create, and this was my kit for the ladies:

This pic just shows all the unassembled kits...

Here's one more of Cheryl's pretty cards from her class:

Thanks for stopping by! I have about 5 more posts to make and will be caught up...ha ha!

So glad you're my crafty friends!
Patti J.

Food for thought: No one is guaranteed happiness. Life just gives each person time and space. It's up to us to fill that time and space with joy!

Tuesday, November 22, 2022

Catching Up...

Hi there!

Well, I have a lot more catching up to do! Seems I am making very little these days, until I go to post what I've made! Then I realize I've created more than I thought!

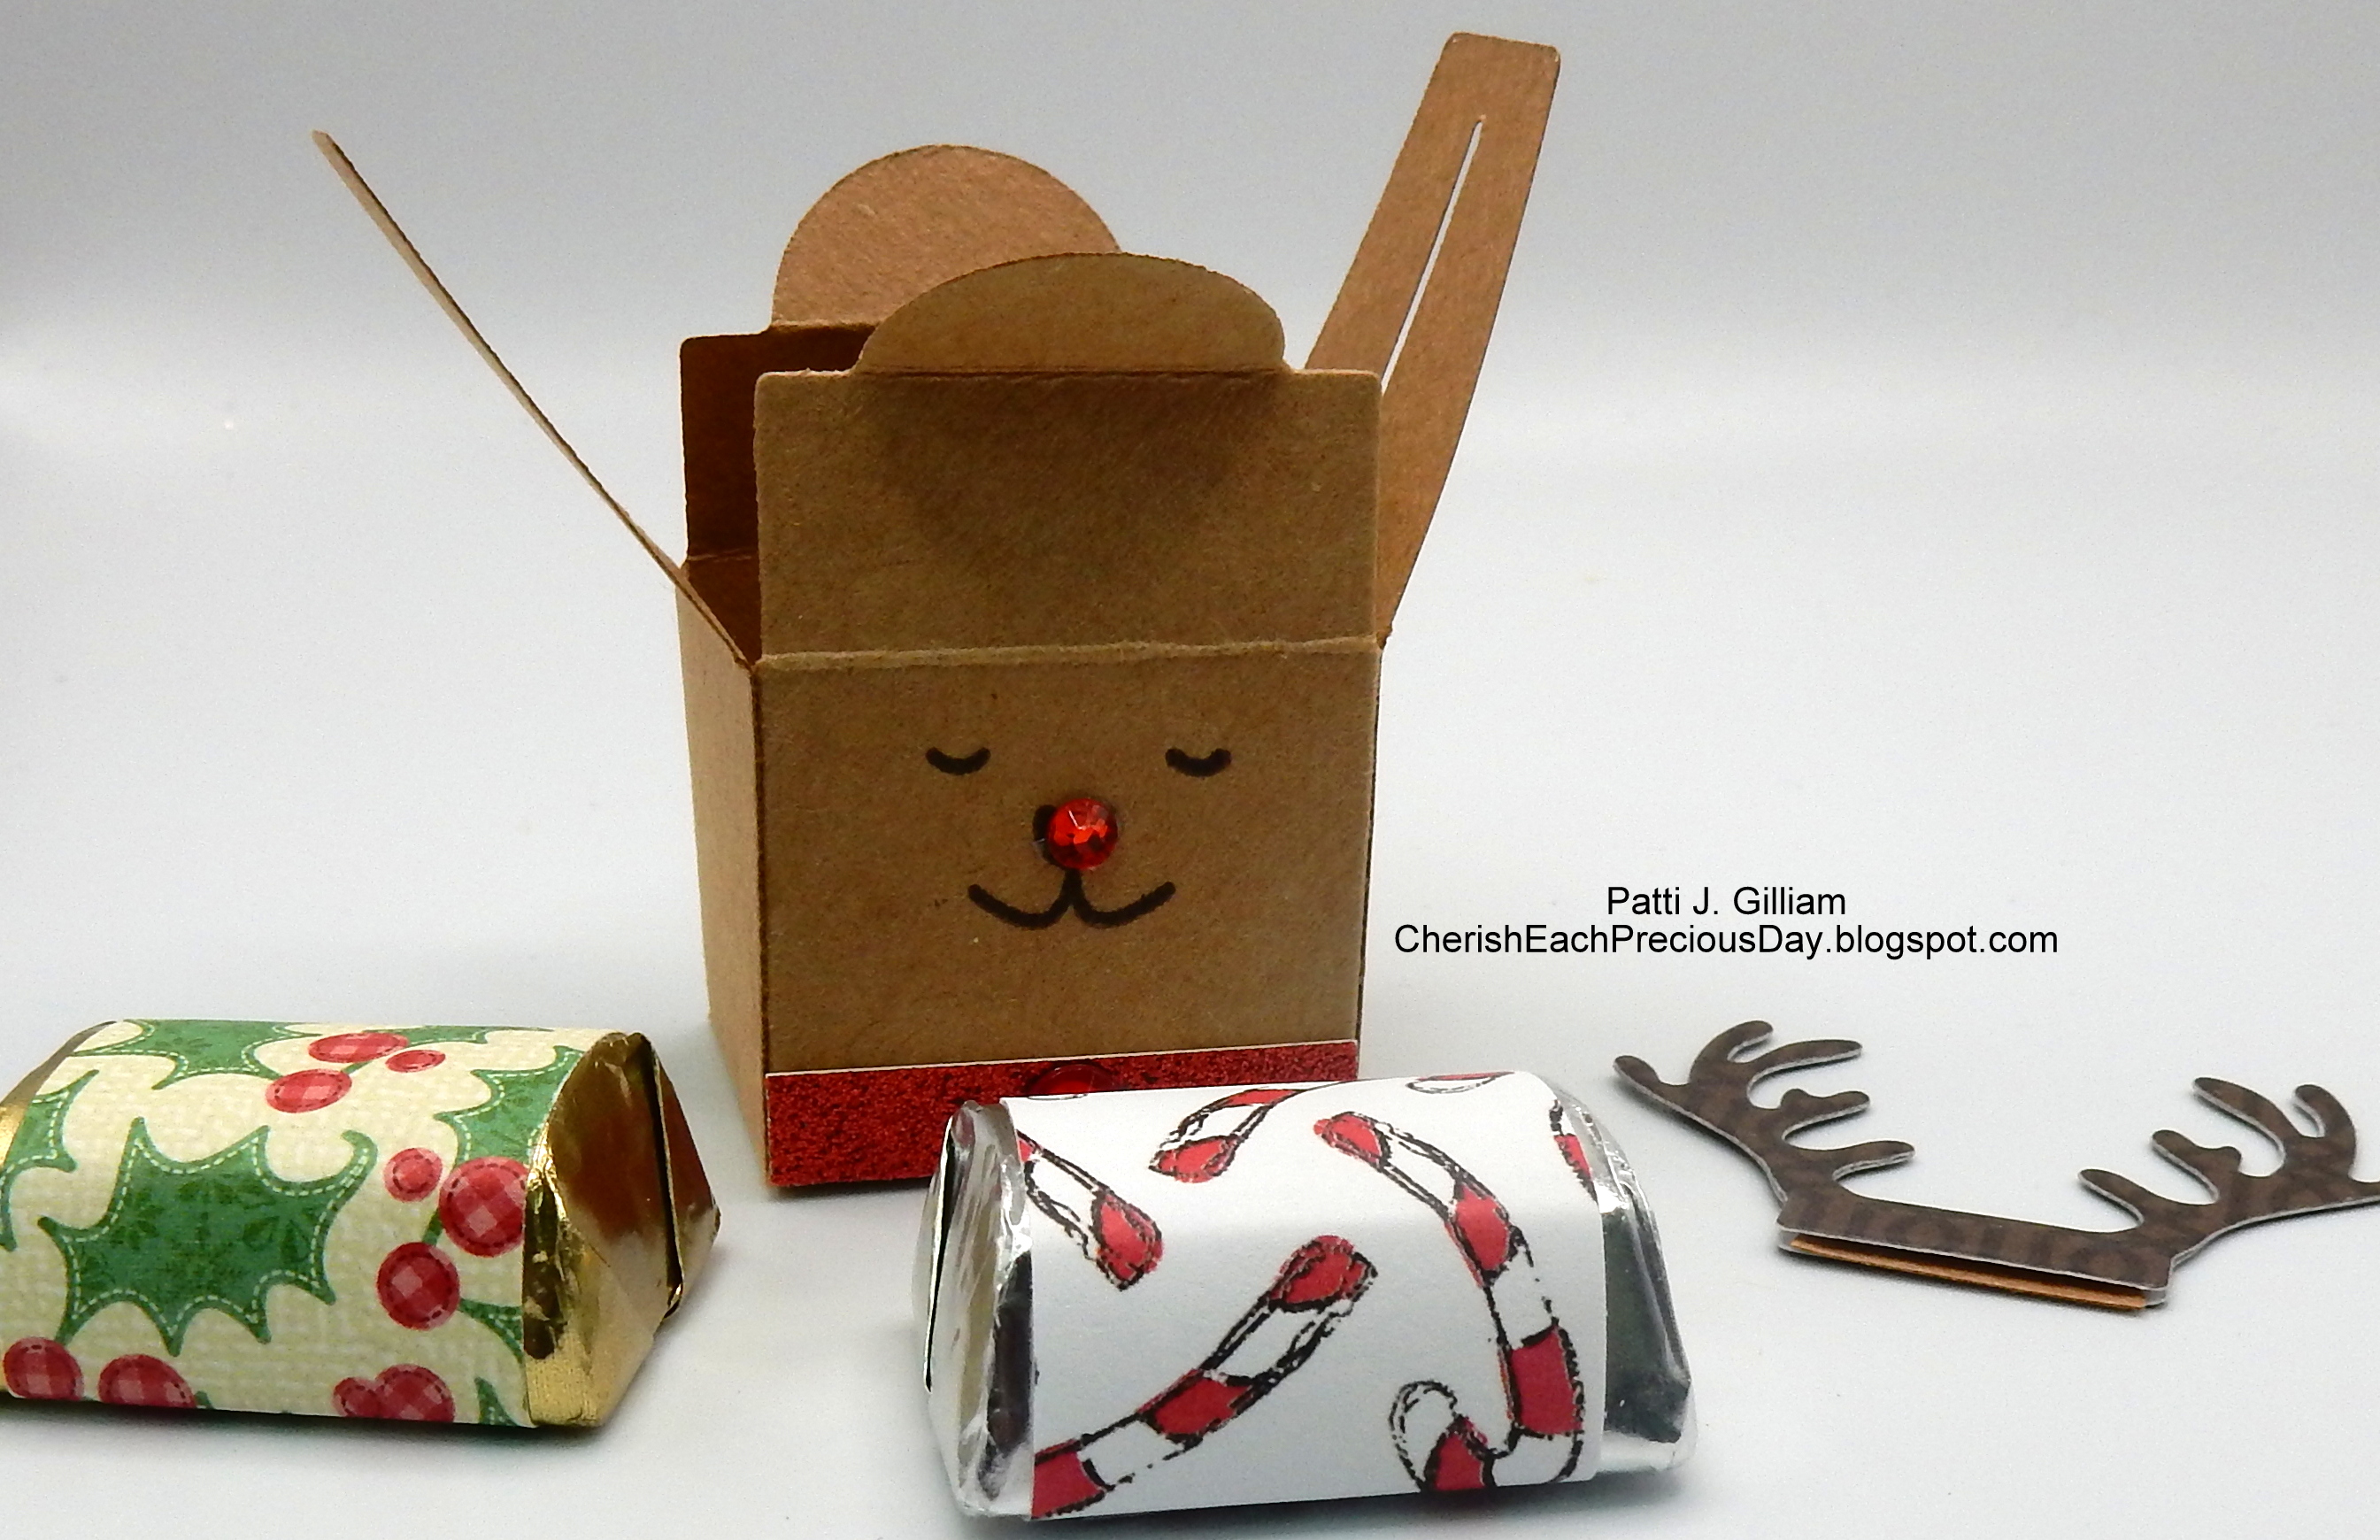
Here are a few little treat boxes I made for a stamping day at Ruth's house:

I made a whole family of reindeer boxes, using the Stampin' Up Design a Treat bundle from this years mini catalog. Aren't they adorable?


Since Ruth was hosting, she needed double trouble, so I found this cute tutorial HERE, and made her a box for TWO reindeer treat boxes!


And last, but not lease, here is what is inside!

Thanks for dropping by today!

Will try to be a bit more prompt in my posting of creations, I promise!!!

Hugs and blessings,
Patti J.


Monday, December 9, 2019

Pick of the Week


Hi everyone!
It's my turn to share a Pick of the Week at The House that Stamps Built. The Repeat Impressions Stamp that I picked to showcase is:


It's that time of year, right?....the time when you scramble for a 'little something' to give to a friend, neighbor, UPS driver, teacher, etc. I'm going to show you how to make a quick and easy matchbox style box that can easily hold candles, markers, or sweet treats!

Here's what I made:


Let's get started!

You will need one piece of cardstock for the box bottom that measures 8.25" x 3.75".
You will also need a piece for your box 'cover' that measures 6.25" x 7"
Then you just need some scraps for whatever sentiment or image you choose to use on your box top!

To create your box, score your cardstock at 1" on all four sides. Trim your tabs in just a smidge on each side, so the box will fit together nicely. Take a small circle punch or die, and make a small finger hold on each of the short ends as shown below:


Next, flip your box over and add some adhesive to your flaps:


Now, just fold your tabs to the inside to assemble your box - It will look like this:


To make your cover, score the cardstock along the 7" side at 1 7/8", 3", 4 7/8", and 6".


Add some adhesive to the smallest section.

Remove adhesive backing, and assemble 'cover':

Your box cover will look like this when assembled: 

Last, I added a scrap of patterned cardstock to the bottom of my box - this is optional!

Ta-da, and Ta-done!


Wouldn't these be make a fun gift to say 'just because'?

Hope you will give this a try - it really is easy and fast, makes such a fun project! It's also a great way to use those scraps of cardstock that we tend to save ration hoard!!!

For this week only (Dec. 9-15, 2019), get 20% Off the stamp used in Patti's creation above when you use the coupon code POTW12919.

Thanks for stopping by today!

Hugs and blessings,
Patti J.

Wednesday, November 13, 2019

Tic-Tac-Toe Challenge at The House that Stamps Built

Hi everyone - Happy Wednesday!

It's time for a new Tic-Tac-Toe challenge for Repeat Impressions.
Here is the inspiration board that Wendy gave us to work with:

  
I chose to work with the middle row - Paper Piecing, Patterned Paper, and Anything But A Card.

Today, I used these Repeat Impressions Stamps:


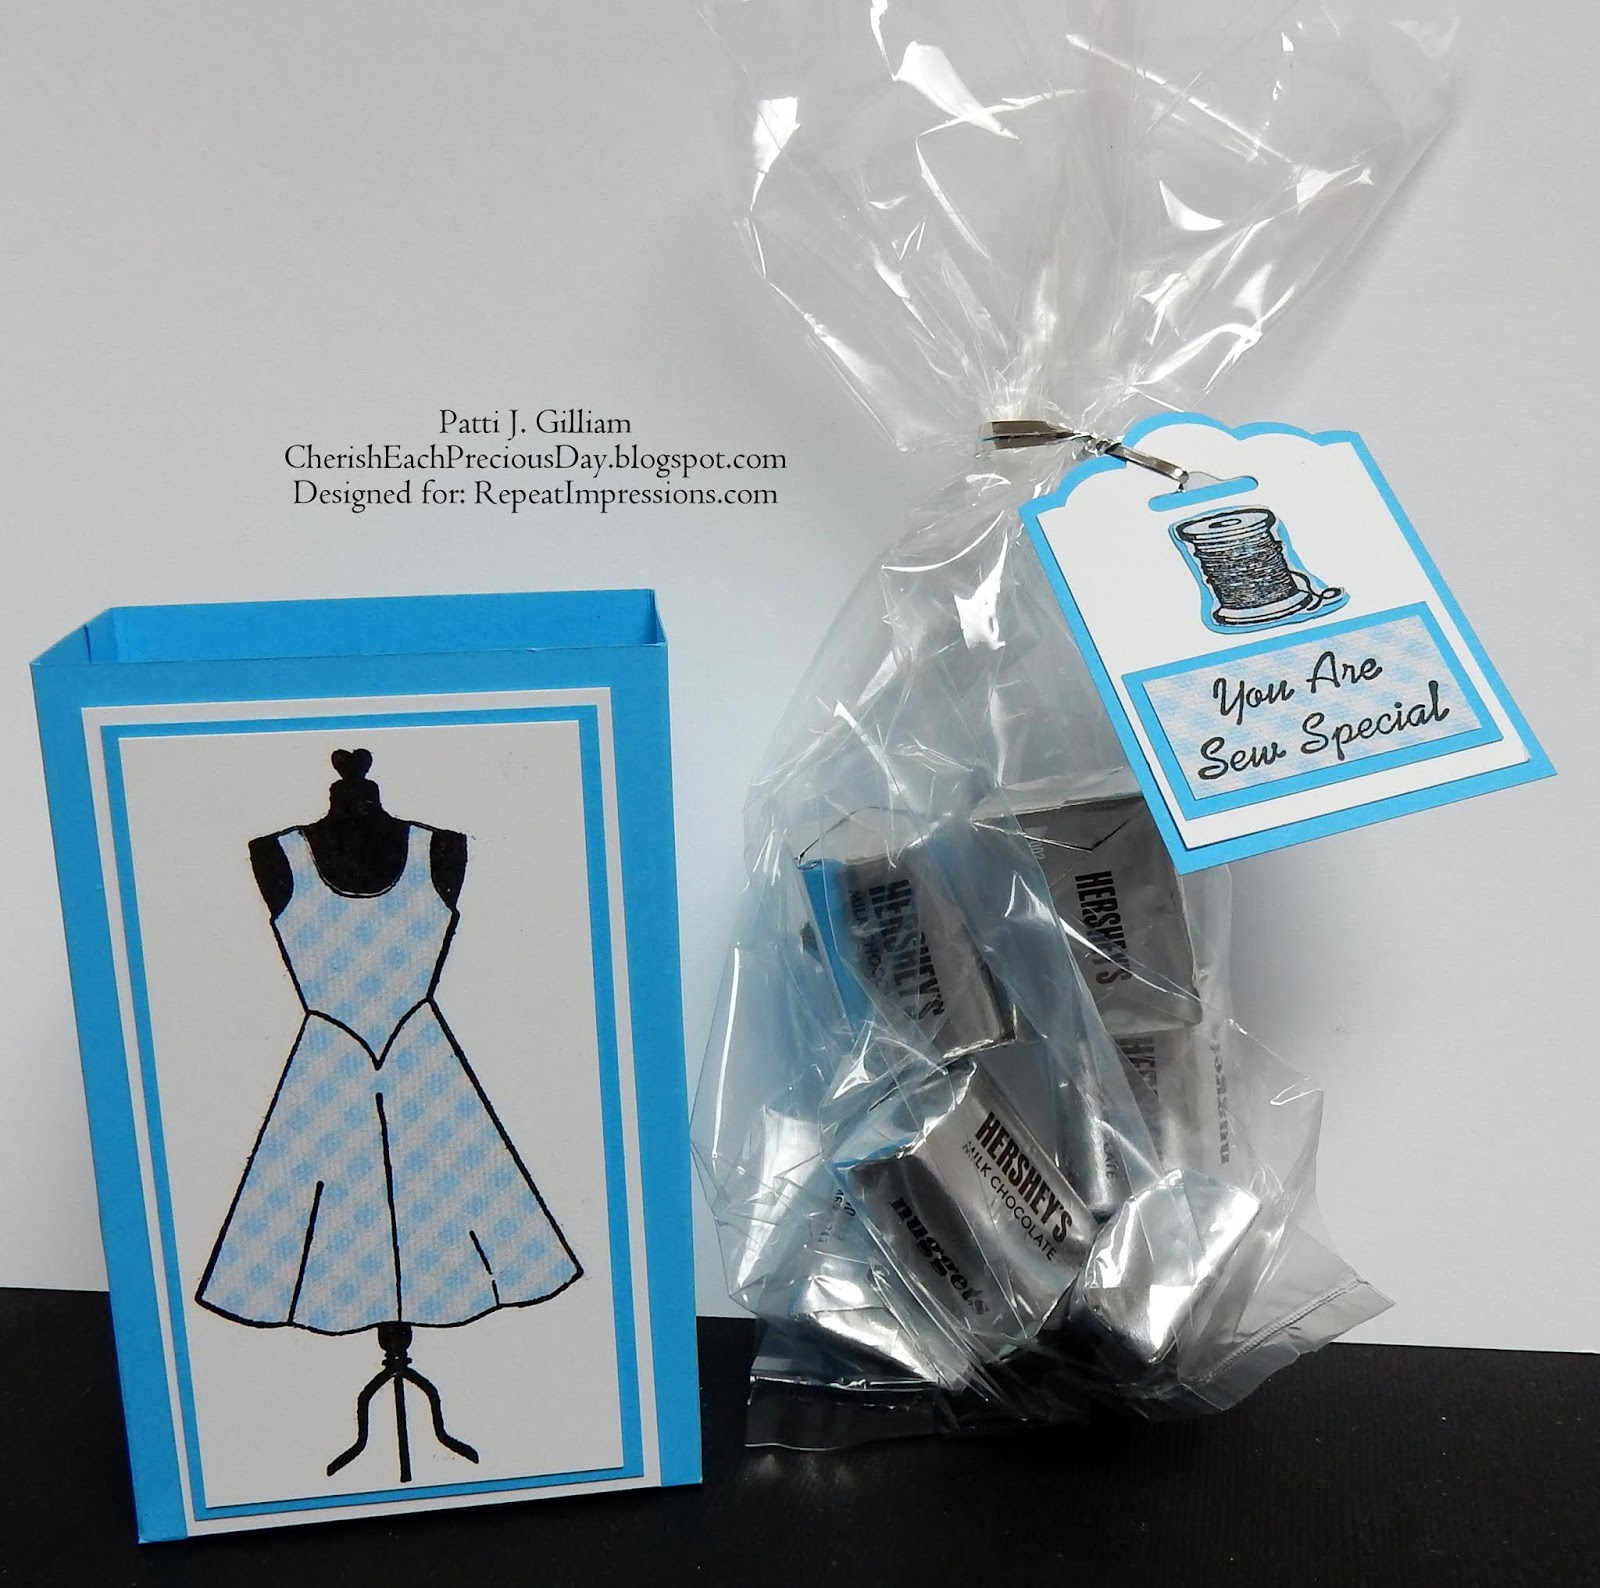
I decided to create an open top box for some nugget candies, and a little tag.
Here's my creations:


Now it’s your turn! Create something using the Tic-Tac-Toe board above, and link it up at The House that Stamps Built. Remember, your creation does not have to be made with Repeat Impressions stamps, but if you would like to include our designs we would love to see them! Plus, there’s an added bonus… you will get an additional entry in our random.org drawing for using our stamps in your submissions!

Check out my sidebar to see how you can save money on your RI orders!

AND...last but not least ...
NOTICE:
Repeat Impressions is clearing out their show inventory. So while they last,
they have very limited quantities of 100's of designs of Wood Mount Stamps available - Priced less than their cling mount stamps!


Inventory will be added and updated daily so check back often for design availability. Priced as shown, no coupon code needed. As show stock is depleted the various wood mount stamps will return to their regular prices so get them before they're gone.

Now, it's time to see what my fellow Rock Stars have created!

Joy     Laurie     Heather   Shirley     Donna     Esther

Happy Hopping!
Hope you link up a card this week!

Patti J. 

Monday, October 28, 2019

Pick of the Week at The House that Stamps Built!

Hello there!


It's my day to share a Pick of the Week at The House that Stamps Built. The Repeat Impressions Stamps that I picked to showcase are:


Here is my project...some fun but clean and simple treats for Thanksgiving:


Let's get started!

You will need one piece of cardstock measuring 5.25" x 2.25" for your candy 'tray'.
With the short edge at the top of your score board, score at 3/8" one each outside edge.


You will need a second piece of cardstock that measures 5" x 2". 
With the long side at the top of your score board, score at 2.5"


On the 5" x 2" piece, decide which is the front, and begin stamping as desired. I used a Kaleidacolor ink pad with my Repeat Impressions Stamps, and a bit of Washi tape to decorate mine.

Now, it's time to wrap 5 nugget candies. The wraps are cut from patterned paper, and measure 3.25" x 1".  I just used my tape runner on the back and wrapped them up!


Put a glue dot on the bottom of each wrapped nugget, and place it on the 'tray'.


When your tray is full, slide it into a 2" wide plastic bag. I get mine at Hobby Lobby or Wal-Mart.


You'll need to fold the plastic bag down a bit for the 'cover' to fit right.  I used Scor-Tape on my 'cover' so that it would stick nicely over the plastic sleeves.

Ta-da!


Won't these be pretty at your dinner table on Thanksgiving Day?
Or...teacher gifts, postman, UPS driver, Wal-Mart checker, someone you meet in town that looks sad...the possibilities are endless!

Hope you will give this a try - it really is easy, makes such a fun project, and is a great way to use those scraps of cardstock and yummy paper that we tend to save ration hoard!!!

For this week only (10-28-19 through 11-3-19)), get 20% Off the stamps used in Patti’s creation above when you use the coupon code POTW102819.

Thanks for stopping by today!

Hugs and blessings,
Patti J.

Tuesday, October 1, 2019

Scor-Pal - Harvest or Fall Creation

Hello there, everyone!

This is my second post today. If you are looking for my 2 Crafty Critter Crazies post, just scroll up (down?)!
It's time for a new monthly challenge at Scor-Pal, and the theme is Harvest or Fall, and of course, more than one fold.

I created these easy Merci candy holders for a group of ladies at church. They seemed delighted with them - who among us can resist chocolate?

For my project, I used: Scor-Pal Eighths, and Scor-Tape 1/4".


Here's what I made:


These were pretty simple - the strip of cardstock is cut to 2" x 9.5"
Score this at 3.25", 3.75", 7", and 7.5".

As shown in the photo, on the longest section, punch a hole for the candy to go through, and put a strip of scor-tape at the top edge. Fold it up and adhere it down. Ta-da! Decorate front as desired!  Mine was simply decorated in fall colors. The stamp on the inside says 'Bless You'.

We also have a ton of inspiration in the Projects section of the Scor-Pal website and also on our Pinterest Board to help you get creative! 

We hope to see your creations for Harvest or Fall in our 'More Than One Fold', Scor-Pal challenge!

Happy Scoring!
Patti J.

Wednesday, September 25, 2019

Scor-Pal Pinspired

Hi everyone!
I'm the Pinspired hostess this month on the Scor-Pal blog. I found a really cute box that holds three nugget candies, and thought it would be fun for Halloween treats.  Here is Gloria's post that 'Pinspired' me:  


I linked this photo to Gloria's post, so if you click on the photo, it will take you there.

Here are MY finished boxes:


These were pretty easy to do, and I hope that you give them a try! 
I used my Scor-Pal Eighths, 1/4" Scor-tape, and 1/2" Scor-tape for this project.

Here we go....

Cut cardstock to 5 1/4" x 6"

On the 6" side, score at 3/4", 1 1/2", 4 1/2", and 5 1/4".

On the 5 1/4" side, score at 3/4", 2 1/4", 3", and 4 1/2"

Following this diagram, cut out all of the pieces that are marked with an X.

Your cardstock now looks like this:

Round the top two corners, and burnish all fold lines

On this side, add Scor-tape to the two side flaps (only the outermost flap, as shown).

Flip your box over, and add Scor-tape to the four tabs*.

Peel and remove protective piect from your tabs, fold them inwards, and bring your side flaps up.

Now, remove the protective cover from your side flaps and press them firmly to the inside of the box.

Your box flap should fold in and stay closed nice and firmly.

Here is the finished box.

*The one thing that I did on my finished boxes, was the punch a small 1/2 circle from the front edge of the box, to make a place for your thumb to lift the box flap.  You definitely want to do this prior to adhering your box together!  Here is a close up photo, so you can see the little half circle.


We hope you will give this a try!

That's it!  I made all of these boxes in one evening, and you can too!
Thanks to Gloria for some great 'Pinspiration'!

I hope you'll give this box a try. Don't forget, you still have time to enter the Monthly challenge at Scor-Pal!

Thanks for stopping by,

Patti J.