Showing posts with label Fun Folds. Show all posts

Wednesday, June 9, 2021

Fun Fold Challenge

  Hi there, crafty friends!

It's time for another Repeat Impressions Stamps challenge at The House that Stamps Built. This week, Wendy has challenged us to use a theme of 'Fun Folds'.
Here's what I made using these Repeat Impressions Stamps:


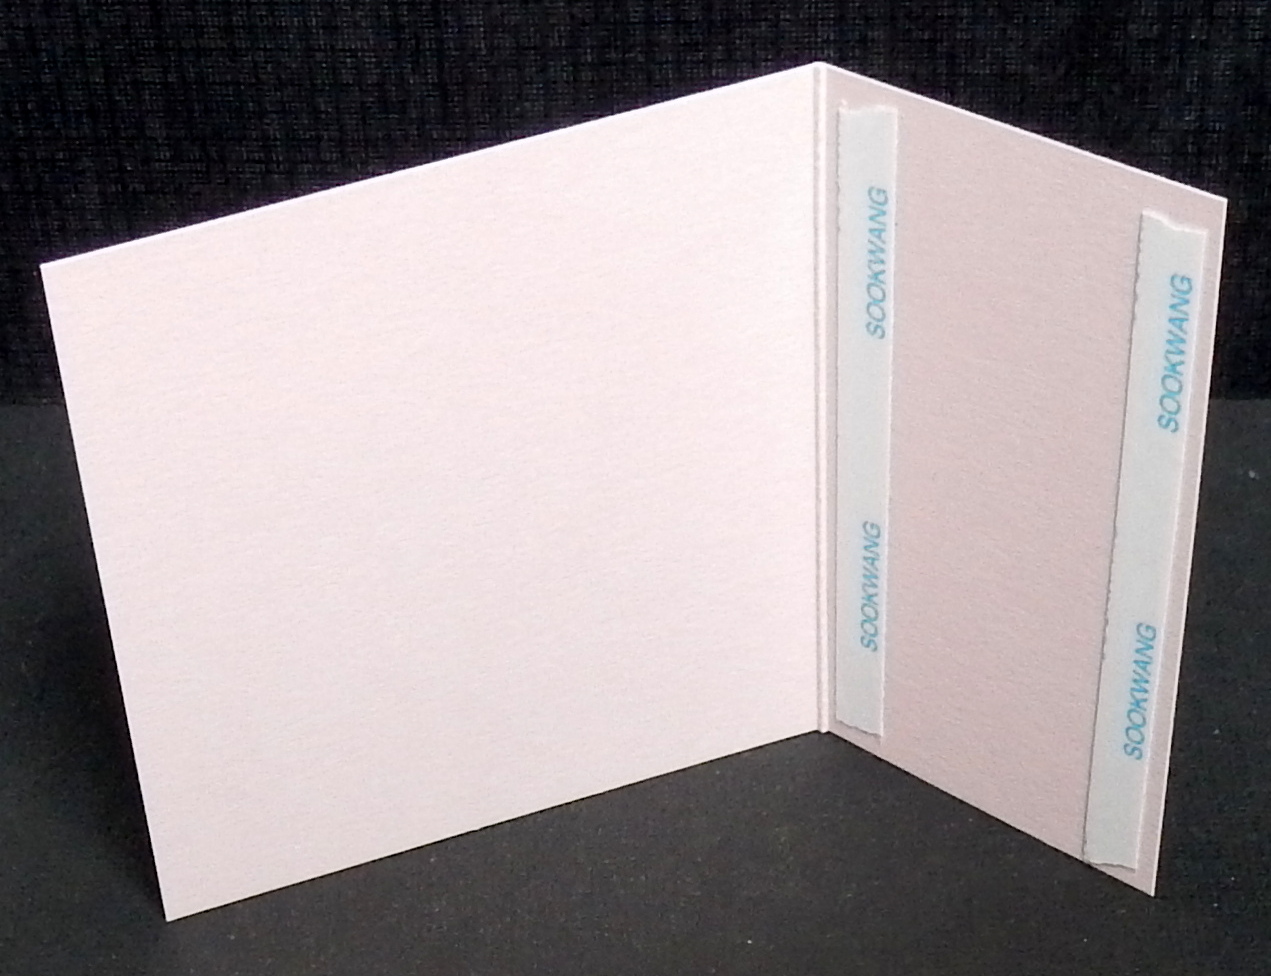
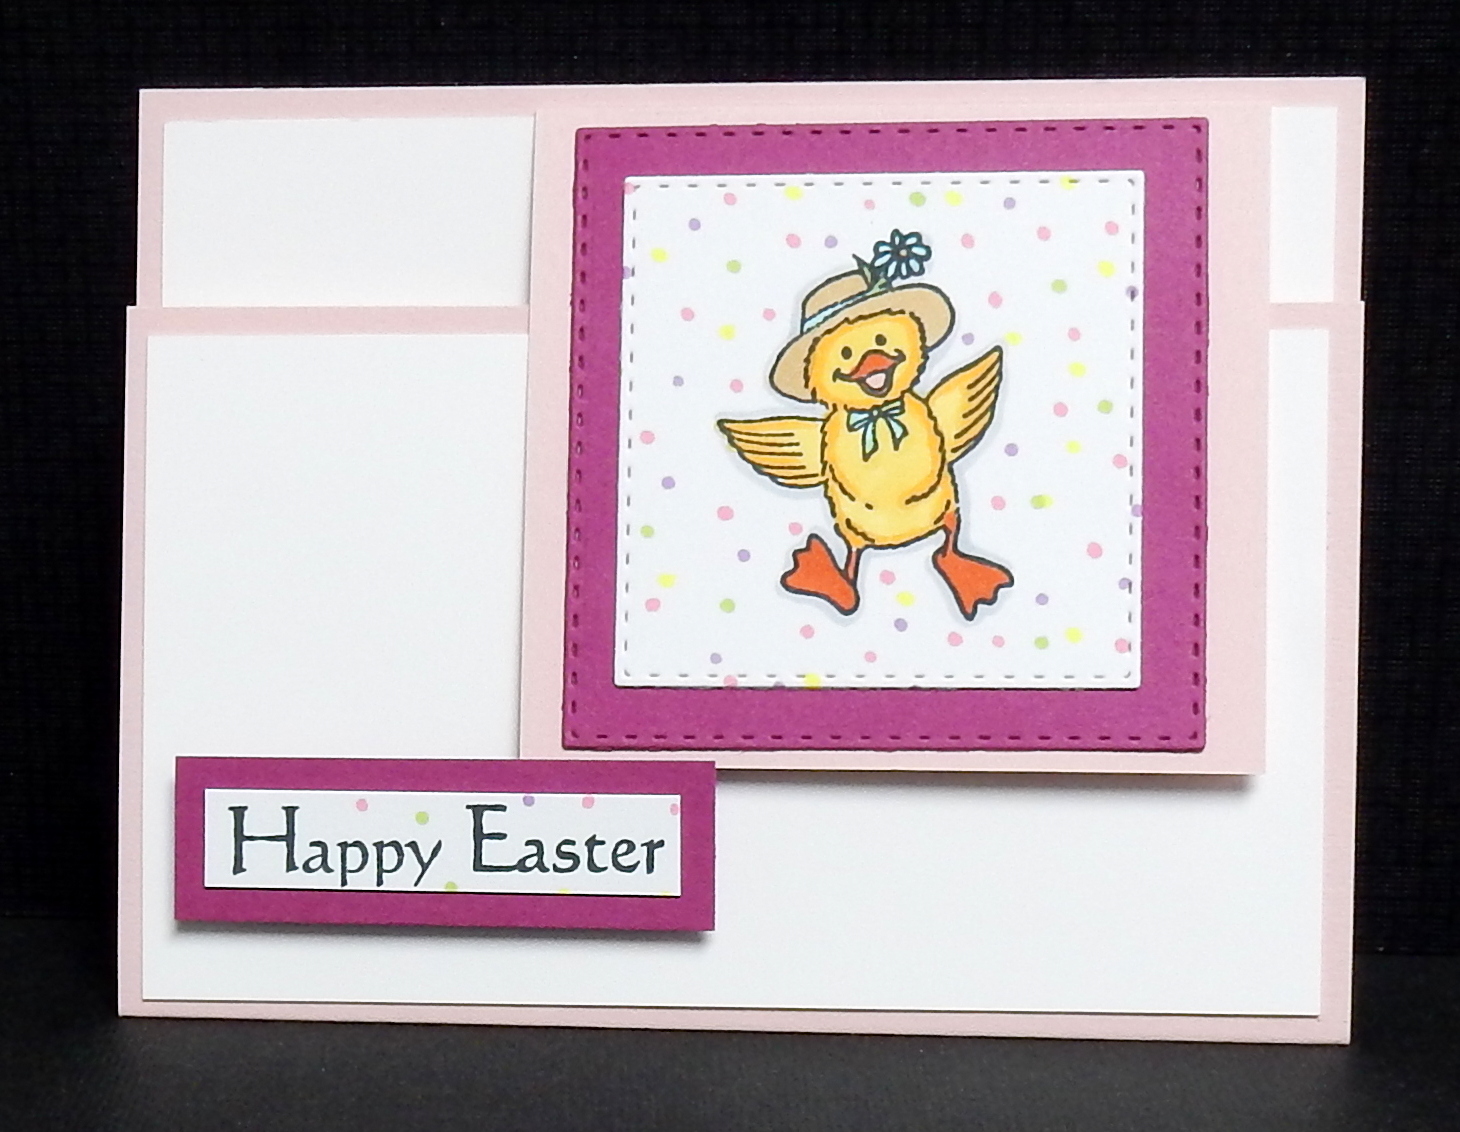
This is a shadowbox card. 

You just need 2 pcs of cardstock the same size. Score each piece 1/2" and 1" from each side. Cut your opening out of the 'front' piece and glue or staple the ends together after all stamping and embellishing is complete.

 We hope you will create a card that has a focus on today’s theme, and enter it in our challenge at The House that Stamps Built!  Remember, your creation does not have to be made with Repeat Impressions stamps, but if you would like to include our designs we would love to see them!  Plus, there’s an added bonus… you will get an additional entry in our random.org drawing for using our stamps in your submissions!
One lucky person this month will win a $25 Repeat Impressions Gift Certificate!

Check out my sidebar - grab the code to save money on your RI orders!

Now, it's time to see what my DT friends have created!

Joy     Laurie     Heather   Shirley     Donna

Happy Hopping!
Hope you link up a card this week!

Thanks for stopping by,

Patti J.

Wednesday, June 2, 2021

All About the Boys

 Hi there, crafty friends!

It's time for another Repeat Impressions Stamps challenge at The House that Stamps Built. With Father's Day right around the corner, Wendy has challenged us to use a theme of 'All About the Boys' this week.

Here's what I made using these Repeat Impressions Stamps:


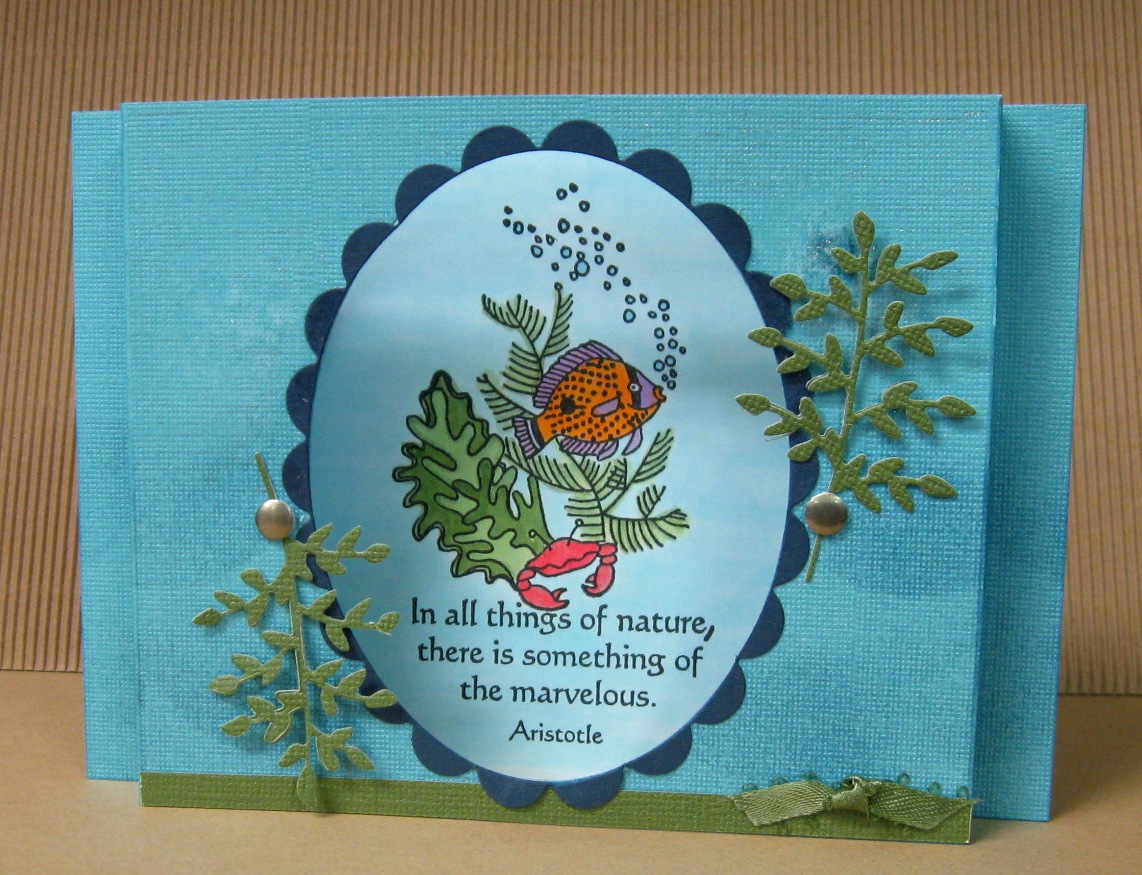
Our grandson has been taking swimming lessons. While we were in DC a few weeks ago, we were able to watch the kids swim. They are SO good in the water! Anyway, Nate got promoted into the next class, so there was a definite need for a hooray card for our 'little fish'!!!

Here's what I made:

Tried for a better photo, but just could NOT get the lighting right for this card. Oh well, you get it, right???

And here is the way the card opens up. Isn't this adorable? I found lots of ideas on Pinterest, and sort of designed my own shape and size here. Note: the sentiments on the inside of the card are not RI stamps, but the bubbles, plant, and fish definitely are!!!


Here's a close up shot of the silly fish face. 

This was a fun challenge, and I hope you'll all join in! We all need some man cards in our stash!

 We hope you will create a card that has a focus on today’s theme, and enter it in our challenge at The House that Stamps Built!  Remember, your creation does not have to be made with Repeat Impressions stamps, but if you would like to include our designs we would love to see them!  Plus, there’s an added bonus… you will get an additional entry in our random.org drawing for using our stamps in your submissions!
One lucky person this month will win a $25 Repeat Impressions Gift Certificate!

Check out my sidebar - grab the code to save money on your RI orders!

Now, it's time to see what my DT friends have created!

Joy     Laurie     Heather   Shirley     Donna

Happy Hopping!
Hope you link up a card this week!

Thanks for stopping by,

Patti J.

Wednesday, March 10, 2021

Fun Folds at The House that Stamps Built

 Hi there, crafty friends!

It's time for another Repeat Impressions Stamps challenge at The House that Stamps Built. Wendy has challenged us to use a theme of 'Fun Folds' this week.

Here's what I made using these 
Repeat Impressions Stamps:


This easy fold is one 4" square of double sided designer paper.
Make a tiny mark in the center of the square.
Fold all four corners in to the middle, then glip the tab back (in this card the tabs are the stripes).

So easy, and what fun to make!

This was a fun challenge, and I hope you'll all join in!

 We hope you will create a card that has a focus on today’s theme, and enter it in our challenge at The House that Stamps Built!  Remember, your creation does not have to be made with Repeat Impressions stamps, but if you would like to include our designs we would love to see them!  Plus, there’s an added bonus… you will get an additional entry in our random.org drawing for using our stamps in your submissions!
One lucky person this month will win a $25 Repeat Impressions Gift Certificate!

Check out my sidebar - grab the code to save money on your RI orders!

Now, it's time to see what my DT friends have created!

Joy     Laurie     Heather   Shirley     Donna

Happy Hopping!
Hope you link up a card this week!

Thanks for stopping by,

Patti J.

Thursday, December 24, 2020

Warmest Holiday Wishes

  Hi there! Happy Christmas Eve from all of us at Technique Junkies!

It's my day to post on the Technique Junkies Design blog, and I'd like to share a fun card that I created, using Gnomies Forever , Christmas Tree Sextuplet, and a sentiment from Gnome for Christmas.

This is a box card, and seemed like a perfect fit for these sweet gnomes! Using Copic markers, the images  were colored for Christmas. I found some buffalo check designer paper on Etsy, and printed out what I needed for the box. Someone VERY special received this card for Christmas!


Here is a photo of the trees and their background, which was created with some Distress Oxide Inks, Ink Blending Brushes, and the Cloud Edger Stencil. If you don't have this stencil, you really need it! Be sure to watch Pat Huntoon's videos - she even has one that uses the stencil to do camouflage!


Here's a shot showing the card folded flat for mailing. (Due to the overhang of the tree, this will be mailed in a larger than A2 envelope).


Technique Junkies products make such beautiful cards!  

So glad you stopped by today!

Don't forget!!! You can always save 10% on any order by entering TJ10Patti at checkout.


Now, be sure to head over to the Technique Junkies store and check out the incredible new stamps this month! 

Thanks for stopping by,

Patti J.

Wednesday, October 14, 2020

Tic Tac Toe at The House that Stamps Built

 Hi everyone - Happy Wednesday!

It's time for a new Tic-Tac-Toe challenge for Repeat Impressions.
Here is the inspiration board that Wendy gave us to work with:


My choice was Black Cats, Gate Fold Card, and Embossing.

Today, I used these Repeat Impressions Stamps:


Here's my creation:


and here is a view with the gatefold opened up. The left side of the sentiment strip was adhered with two small pop dots, while the right was adhered with two small velcro dots. Prior to mailing, I will add a white panel to the inside for my message. One of the 'grands' will probably get this one!


This was pretty easy (once my brain cells kicked into gear)! I actually had to call my bestie, Shirley, for a gentle reminder on measurements for the gatefold! 

Now it’s your turn! Create something using the Tic-Tac-Toe board above, and link it up at The House that Stamps Built. Remember, your creation does not have to be made with Repeat Impressions stamps, but if you would like to include our designs we would love to see them! Plus, there’s an added bonus… you will get an additional entry in our random.org drawing for using our stamps in your submissions!

Check out my sidebar to see how you can save money on your RI orders!
Lots of things are on sale at Repeat Impressions, so hurry on over and take a peek!!!

Now, it's time to see what my fellow Rock Stars have created!

Joy     Laurie     Heather   Shirley     Donna     

Happy Hopping!
Hope you link up a card this week!

Patti J.

Monday, June 22, 2020

Pic of the Week...by me!

Hi everyone!
It's my turn to share a Pick of the Week at The House that Stamps BuiltThe Repeat Impressions Stampthat I picked to showcase are:


Here's what I made:


Some of you have said that you like my fun fold tutorials, so here you go! This is a fun version of an easel card, step card, etc. Lots of fun to create, and it folds flat into an A2 envelope for mailing.

Let's get started!

Decide first which images you want to work with, as you can create this card in either landscape or portrait mode. Color and either fussy cut, or panel cut your images - your choice! Mine are fussy cut. Set these aside until the end.


Cut cardstock 5.5" x 8.5" and score at 4.25" to form card base.


Measure over 1.5" from each side, and cut just up to the fold line.


This is what it will look like. Score the center section in half (2 1/8")

Cut a piece of patterned paper for the center section of your card, and adhere it. Be careful to allow if you are using a patterned paper. You want the pattern running the right direction. After you have adhered the patterned paper, carefully adhere both long flaps to the card base. In the photo below, you will see that I have them taped, and ready to simply fold forward onto the base.


Now your card looks like this!  Add some patterned paper pieces to the side flaps - mine measured 1.25" x 4", and a piece of patterned paper to the 'easel' piece. Mine measured 2.25" wide x 2" tall.
Add 'something' to the card base using dimensional foam, to hold your easel upright.


Last, add your images!  I colored my images with Copic Markers, and glossed them up a bit with some glossy accents to the cherries and sprinkles.  Hmmm....now I am craving a cupcake.

And here is a side view:

 For this week only (June 22-June 28, 2020), get 20% off the three stamps used in my creation above when you use the coupon code POTW62220.

Thanks for stopping by today!

Hugs and blessings,
Patti J.

Monday, March 16, 2020

Pick of the Week

Hi everyone!
It's Patti's turn to share a Pick of the Week at The House that Stamps Built. The Repeat Impressions Stampthat I picked to showcase are:


Can you believe Easter is right around the corner? Seems like we were just enduring the never-ending month of January, and moaning about having to remember to put 2020 on things!

I thought I'd share another fun fold with ya'll today! Here's what I made:


Let's get started!

First you need a 5.5" x 7.5" piece of cardstock for your card base.
Score this on the long side at 4.25" as shown below:

Next, you will need to decide on your focal panel so you know what size to cut your flap.
Here is my image:

My flap needed to be 4.75" x 3 1/8" in order to hold my image. Score on the long side, at 3", as shown below:

Cut two white panels:
1 @ 5.25" x 4"
1 @ 5.25" x 3"


Add some adhesive to the inside of your flap (I used Scor-Tape so it would be visible)

Adhere the small piece of the flap over the larger of the two white panels where desired - you may want it in the middle, to the left, to the right.

Here's what this looks like from the front.


Adhere white panel to card base, as shown.

Adhere smaller white panel to card base, as shown below:

Adhere focal panel to your flap.

Adhere sentiment, or a flower, 'something' that you can adhere using dimensional foam. This will allow your flap to slip behind and keep card closed.

If desired grab your markers, and dot the white space to match the focal panel.

Ta-da, - Ta-done!

For this week only (Mar. 16-Mar. 22, 2020), get 20% off the two stamps used in my creation above when you use the coupon code POTW31620.

Thanks for stopping by today!

Hugs and blessings,
Patti J.

Friday, November 1, 2019

Scor-Pal....Birthday, Family Celebration, etc.

Hello there, everyone!

This is my second post today. If you are looking for my 2 Crafty Critter Crazies post, just scroll up (down?)!

It's time for a new monthly challenge at Scor-Pal, and the theme is Birthday or Family Celebration (Thanks, Christmas, etc.), and of course, more than one fold.

I created a fun fold card this month.

For my project, I used: Scor-Pal Eighths, and Scor-Tape 1/4".


Here's what I made:

This shows the card fully closed (sorry about the ugly clothespins!)

Popped off the clothespins...

Opened the card...

View from the top...

The base is 5.5" x 8.5" scored in half to create an A2 card.

The white insert is 5.5" x 6.5".
With the 6.5" side at the top of Scor-Pal, score at 1/2", 2.5", and 4.5".

Burnish score lines, stamp and/or add paper to the card as shown, and add your adhesive onto the front edge of the 1/2" line.

Assemble as shown. 

For my focal piece on the front, I cut out two varied sized circles, and another circle from the patterned paper that is on the inside panel.

Pretty simple, except that I couldn't get the adhesive to stop at the right places on my card front, so I just used the adhesive on the entire strip, and added glitter to the cut out section of the large circle.

I couldn't find any written or video instructions for this card - just had an old, old photo that I had printed and stuck in a drawer a few years ago.  You might come up with a better recipe than I have!

We have a ton of inspiration in the Projects section of the Scor-Pal website and also on our Pinterest Board to help you get creative! 

We hope to see your creations for Harvest or Fall in our 'More Than One Fold', Scor-Pal challenge!

Happy Scoring!
Patti J.