Tuesday, May 20, 2014

Ten...

Happy Tuesday!

Do you think summer's every going to get here?  Each time I think we're getting closer, here comes another cold spell - one is due to come through here Wednesday evening.  Bah.

Anyhoo....thanks for stopping by!  Today's card is for the Paper Loft Challenge.  It's
always a sketch challenge, and here's what I made:

I used papers from the Everyday Life and In the Zone collections. It was a lot of fun to cut out pieces and pop them up. The sunburst is an Amuse Studio Stamp, and the sentiment is an old wooden Stampendous stamp.  I thought this would be fun for a 10 year old boy!

And...here's the sketch!

Yikes - this was a tough one - guess that's why they call it a challenge, right?
Would be a great page layout, wouldn't it?

Get out your Paper Loft Papers, and head over to enter.
As of yesterday, there were no entries yet, and the challenge is over at the end of May.
You could win $30 in product AND a guest designer spot!

Have a great day,
Patti J.

Monday, May 19, 2014

Just Married...

Good morning!
Happy Monday to each of you. I'm filling in at the church again today, so I'll be MIA for the day!

It's my day to post for the Die-Versions Blog, and I'm so excited with this month's release!
There are some stunning dies, and the theme for the month is Weddings.
I love, love, love the intricate lines and details in these dies, 
and OH MY GOODNESS, they cut so beautifully!

Here is my card:

This card uses Die-Versions Whispers 'Wedding Cake' DVW-361 and Die-Versions Sweet Wordlets 'Just Married' DVSW-038
And here is what I did to get this 'one layer' card...
Cut colored panel to measurement of your choice.  I used 5.25" x  2.75".  Center the cake die onto your panel and die cut.

This is what your panel will look like.

Cut the cake and words out of a coordinating color of cardstock and set aside.

Adhere the colored cardstock to your card front. Be sure to get your glue around the cut out area, so it will lay flat.

Put some adhesive on the back of your coordinating die cut, and place into the cutout like a puzzle piece.  Be sure to glue the correct side of the die cut - don't ask me how I know this, but note the glitter on this cake that's NOT on my finished card!  lol...
Cut the cake again, using a smal print of your choice.  I used some Amuse Studio yellow gingham, but a pretty floral would be oh, so perfect too!

Starting wherever you like, begin taking out pieces, and gluing them into the little openings.  For my card, I used my Tombow Glue Pen.  I have only had this a few weeks, and don't know how I functioned without it!
Last, but not lease, add the sentiment, again using your glue pen.

VOILA!

Easy peasy, right?  It's a bit time consuming, but I think it's a fun technique, and can't wait to experiment with some different dies!

Looking at this card on the 'big screen', I think I'll add a few tiny rhinestones prior to giving this card away...

Thanks for stopping by!

Be sure to check out Die-Versions blog - each day, one of the design team members posts some wonderful inspiration.  You will see everything from clean and simple to elegant, cards to altered items, or scrapbook pages.  Hope to see you there!

The Die-Versions store is FILLED to the brim with amazing dies, at reasonable prices.
Check them out - you won't be disappointed!

Hugs and smiles,
Patti J.

Sunday, May 18, 2014

Happy Birthday Bears

Happy Sunday!
I sure hope that this finds you all well. My goodness - the week got away from me!
I was out of town one day, filled in as church secretary another day, and so on.......you all know how it goes! No matter what plans we make, life happens, right?


One of our great guys at church had a birthday this week.  One of the things he likes to do is go up north someplace and bear hunt.  He enjoys the hunt, but he loves just watching the bears in their natural environment, too.  I purchased this stamp at a stamp convention that some friends and I attend each year. This was purchased several years ago, and there is no name on the stamp anyplace, but it was SO fitting for this gentleman.  For the inside of the card, I repeated the largest nestie in white, cutting the bottom off straight, and distressed it with around the edges before writing the sentiment inside.

Tomorrow, I will be showcasing two of the new release dies at Die-Versions, and will have a photo tutorial for you.  Hope you can drop by - you're going to love this new release! It's all about weddings!!!

Take care, and thanks for stopping by,

Patti J.

Tuesday, May 13, 2014

Creations by AR - Designer's Choice Blog Hop

Welcome to our May 'Creations by AR' Hop!

We have changed things up a bit - rather than a new release, the designers will all be showcasing their favorite Creations by AR templates.  What fun!  This will be inspiration heaven at each stop along the way!
Now... how can YOU win a Creations by AR template of your choice?

Leave a little love on each blog, and then leave a comment on the AR FB page, telling us which template you would like to win!  Easy peasy!!!
Your comments will be accepted until noon Eastern on Friday, May 16th.
Good luck, and happy hopping!

Here is the hop order:
Patti J.:  You're here!

WOWZA! I had a really tough time choosing just ONE favorite, so I'm featuring a few of my faves - hope you don't mind the extra photos today!

My first and forever fave is the My Picnic Basket template.  This is pure heaven!  It's a great size, and except for the handle, it's all lines and no fru-fru, so it cuts beautifully with scissors!  The handles are also very easily cut with scissors!  This would be wonderful as a gift basket, party favor, wedding favor....
Simply cut, fold, assemble, and decorate!
Easy peasy, right?

Here it is all nicely closed up...

And here it is open!

Of course, you can always make it with NO lid, too!  The handle could also be left off.  Cute, cute, cute!!!
Next up is the Comfy Sofa Gift Box
This template makes a chair or sofa, and the 'recliner' slides out to hold some yummies, or cash, or....


With Father's Day around the corner, wouldn't this chair be 'sweet' fun?


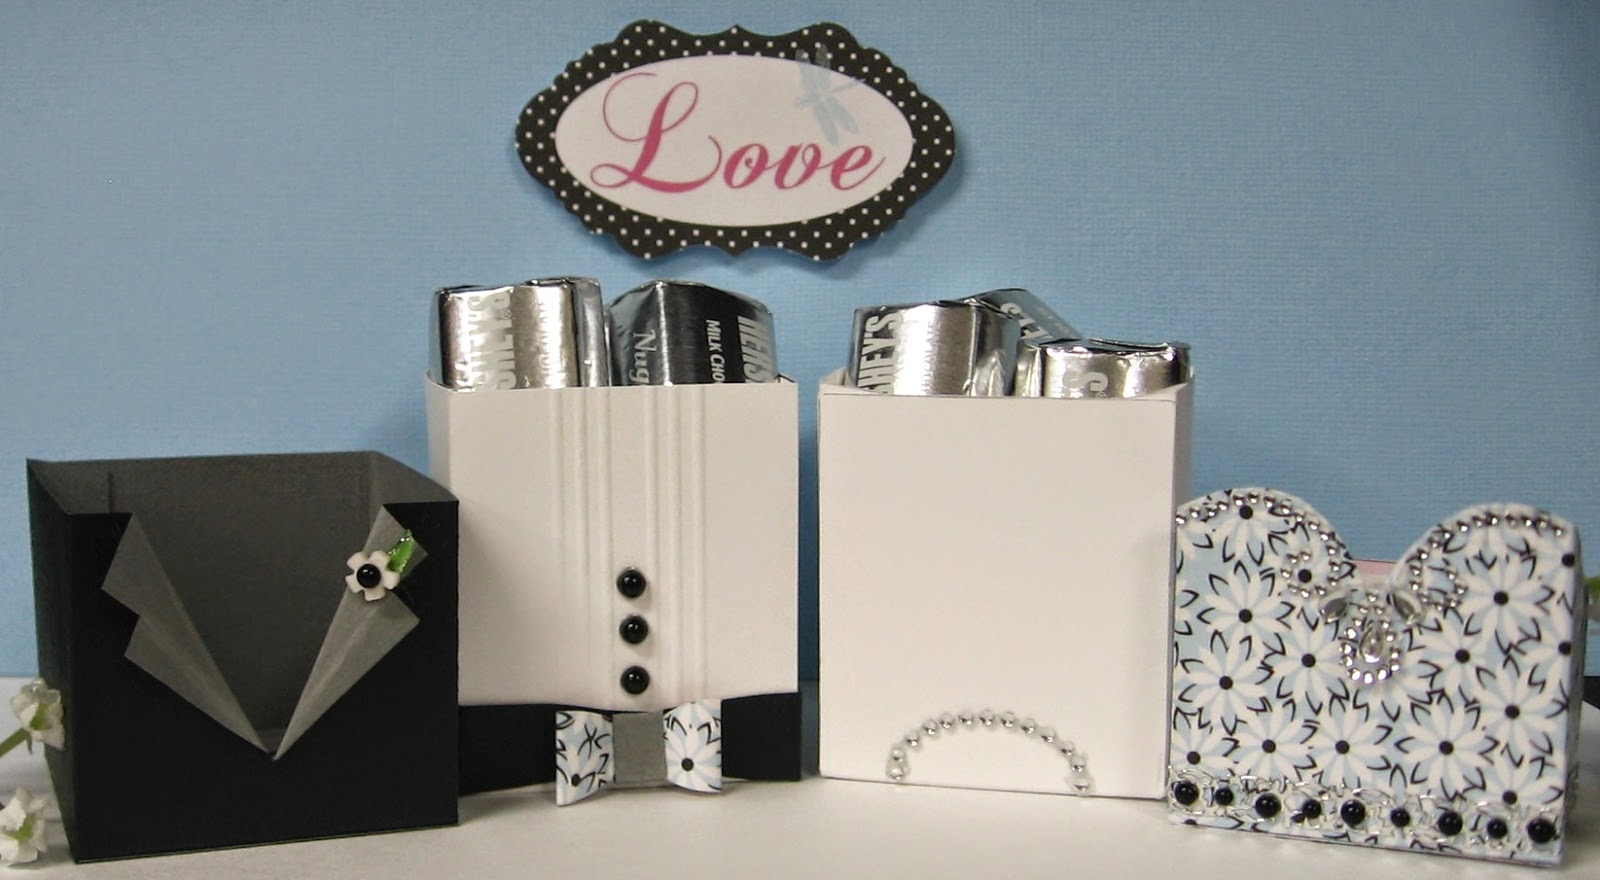
Another fun template is the Tux and Gown Box Set!

Perfect for wedding, prom....

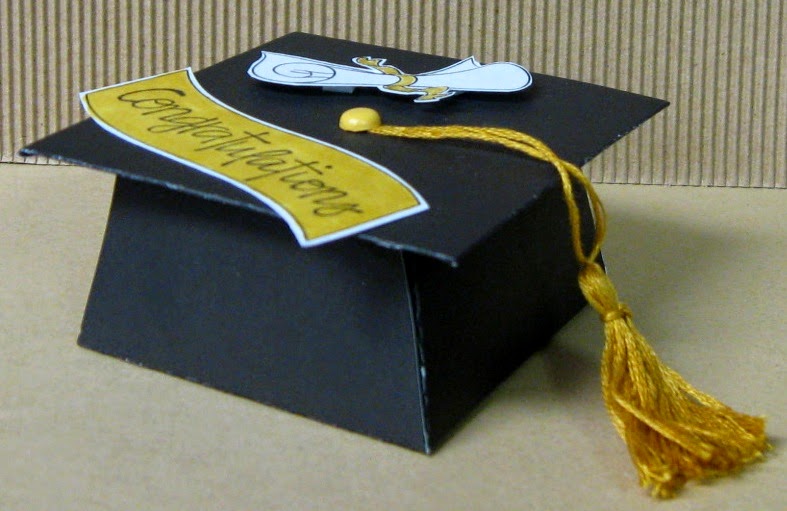
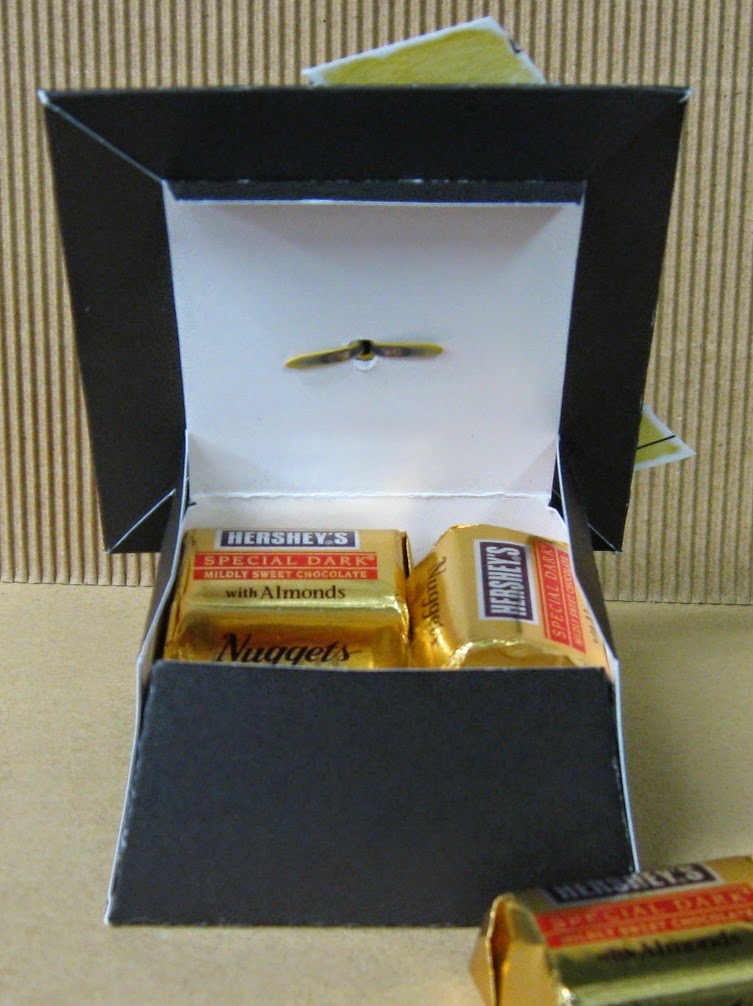
There are SO many more, but I will stop with this fun Grad Cap Box.


What a fun way to let that special grad know that you love them!


Now, it's time to hop on!
Thanks so much for stopping by!

Patti J.

Sunday, May 11, 2014

Caps and Gowns!

Hello, and...
HAPPY MOTHER'S DAY!

It's that time, again!  School is nearly out, and we've needed some graduation cards.
So far, we've had need for black and gold, and navy and white.
Here are the black and gold cards:


I saw this idea about 2 years ago at Dawn Olchefske's blog, and sketched it out for future use.
It came in handy this year! As it's all straight lines, what an easy project it was!
Couldn't have done it without my Perfect Paprcrafting rulers though!  Check
out my sidebar for details!!!

Have a great day, and thanks for stopping by!

Patti J.

Friday, May 9, 2014

Just Saying Hello

Hi friends!

Don't you just love it when something really fun happens accidentally?
That happened to me, as I was cutting out a die cut to use for today's Die-Versions post...
I had a scrap of purple on my desk from a card I made yesterday.
I grabbed it up, and die cut "Crochet Lace", one of my favorite Die-Verisions dies!


                                As I looked down, I realized what fun it could be to use both pieces!

Die-Versions "Crochet Lace" DVW-322
Voila! - Check it out!!!

Die cut is at the top, waste is at the bottom!  Pretty cool, right?  I used a favorite stamp set from Amuse Studios - used an ink dauber, daubing ink directly onto my stamp. I also used my Perfect Layers Mini Rulers for my mat (check sidebar for details).

Be sure to check out ALL of the Die-Versions dies - they cut like butter, and are very affordable!  You won't believe the wonderful selection!

Be watching for a new release!  Coming soon!!!

Thanks for stopping by,
Patti J.

Thursday, May 8, 2014

Took a deep breath...

Hello, friends!
So...how many of you long-time stampers remember what it was like to enter your very first challenge? I do! It was a challenging experience, for sure!  I remember my hand shaking when I finally
pushed the button to submit!  Took a deep breath...

Our Daily Bread Designs "Hydrangea" and "Happy Birthday". Perfect Layers Mini Rulers for black mat (see sidebar for details!)
Well.  In all these years of papercrafting, teaching my own workshops, submitting for publication, etc., I've been terrified to submit a card of mine to the Our Daily Bread Designs challenges.  Seriously terrified!
Friends, there is some phenomenal talent over there on that DT, and I almost (ALMOST!!!) had to take up drinking to make myself step up to the plate.  Anyhoo......took a deep breath!  Above is my card for the ODBD 'Wing It' challenge.  It's in the mail to a friend at church.

Next up, I have two ladies who have requested a photo tutorial on paper piecing.  Believe it or not, I had just stamped an image, and was getting ready to do a tutorial, when I saw that the challenge this week at Great Impressions Stamps Blog, was to use a Great Impressions tutorial.  I am using paper piecing!  Mynn has a wonderful tutorial on the GI blog, if you need to check out another one.

1. Stamp your image on cardstock panel.     2. Stamp image on fun papers.     3.  Cut out the section to be paper pieced.

Decorate your paper pieced panels if desired.  I colored mine a bit with some markers. I also colored my spools with markers.

Adhere the paper pieces to the stamped image.

Trim down your panel, and create your card!   VOILA!  I used the Great Impressions Spool Trio stamp #E835S. This can be ordered on line, or found in your brick and mortar stores. I found this stamp at The Stamp Pad in Kimmswick, Mo. And, of course....my beautiful mats were created with my Perfect Paper Crafting Mini Rulers - see my sidebar for all the details!

This card needed a very special hand written note inside, so there is no sentiment stamped on the front. Love, love, LOVE Great Impression stamps!

Hope you all have a great day!
Thanks so much for stopping by!

Patti J.